Awesome product!
"After applying liquid PPF to a customers Corvette C1 they were blown away by the outcome The scratch resistance gives the jet black that scratch free finish it deserves wash after wash"
FREE Shipping on orders over $150 (Weight Restrictions Apply)


Bridging the Gap Between Ceramic Coatings & Paint Protection Film (PPF)
Opti-Shield is the next generation of paint protection systems. It is not a ceramic coating and it is not PPF. It is a new category of vehicle protection product blending the benefits and ease of application of ceramic coatings with protective properties, impact and scratch resistance more similar to paint protection film.
Opti-Shield Liquid Protection Film is repairable without having to remove clear coat or replace expensive paint protection film. It won't peel or yellow and it is a seamless installation without unsightly edges to collect dirt or peel.
Opti-Shield is applied in liquid form. Once cured, it forms an extremely durable and correctable layer of protection on top of factory paint. If Opti-Shield becomes damaged, it can be spot polished and reapplied to damaged areas without degrading the factory clear coat paint. Damage can be repaired repeatedly as long as the damage does not fully penetrate the film layer of Opti-Shield.
Is Opti-Shield a ceramic coating?
It is a new type of ceramic based vehicle protection called a Liquid Paint Protection Film or Liquid PPF featuring the benefits of both ceramic coatings and impact and scratch resistance more similar to paint protection film.
Is Opti-Shield PPF?
No, Opti-Shield is applied in liquid form and forms a hard durable layer of protection like a ceramic coating. It features some of the scratch and rock chip resistance previously only found in paint protection films.
How Can a Liquid Product Be Called a “Film”?
Is it more scratch and chip resistance than ceramic coatings?
It is significantly harder than a ceramic coating featuring much better scratch and marr resistance.
Is it as scratch and chip resistance as PPF?
No, but it is the next best scratch and chip resistance available without the disadvantages and cost of PPF.
Can ceramic coating coatings and PPF be installed on top of Opti-Shield?
Yes, both ceramic coatings and PPF can be installed on top of Opti-Shield.
The number of bonnets needed per layer will come down to user preference. I would estimate around 3-4 bonnets per layer would work for most people. We had one user report that he used two bonnets on a sedan for one layer. With the initial leveling step, it is not necessary to remove all of the white haze and residue. The final clean up and leveling of each layer can be done with a wet ONR towel.
Any foam pad can be used under the bonnet. We've been using orange foam pads but the softer black and blue pads should work fine as well.
Opti-Shield installation videos: Supplied to Pro Installers
One question that came up recently was cure time. Opti-Shield depends on it having a high level of hardness to protect the paint. Just like the ceramic coatings, it is surface hardened in 7 days and fully cured in 30 days so users should exercise caution during the first 7-30 days after installation.
It is recommended to work around the vehicle in a methodical manner. We recommend applying the coating one panel at a time in a similar order to the one shown below. This order help avoided missed spots and assist with keeping the correct timing between layers of the multi-layer coatings.
Opti-Shield can optionally be topped with any Optimum or Opti-Coat Ceramic Coating.
Apply additional products such as Opti-Guard Leather & Fabric, Opti-Glass, Opti-Trim, and Opti-Lens according to product instructions
Apply Opti-Bond Tire Gel or Optimum Tire Protection and Coating to tires. Opti-Bond Tire Gel can be applied with the Optimum Spray Gun, HVLP Paint Sprayer, Brush or Foam Applicator. Recommend rinsing any over spray from driveway/floor surface to prevent staining.
Opti-Shield can optionally be topped with any Opti-Coat or Optimum Ceramic Coating one hour or more after the final layer is applied. If the vehicle is released to the customer within 12 hours of installation, apply Hyper Seal or Opti-Seal 1 hour or more after installation. Hyper-Seal or Opti-Seal will protect the Liquid PPF for 30 days during the curing process. If Hyper-Seal or Opti-Seal is applied after installation the vehicle can be
returned to the customer, driven and be exposed to weather 1 hour after installation.
One hour after installation, check for high spots. High spots can be removed by reactivating the coating with Hyper-Seal or Opti-Seal or lightly removing the high spot with Hyper Polish or Primer Polish on a microfiber towel.
Please allow extra time for delivery to regional and remote areas.
Free Shipping on orders over $150 excluding remote areas and certain weight restrictions apply for free shipping in each state. Trade accounts $250 minimum for free shipping.
The following qualifies for free shipping:
For orders with free shipping, we determine whether to use a courier service or Australia Post based on the address. If you prefer your order to be shipped via Australia Post, please select the "Parcel Post" option at checkout.
Note: We do not ship to PO Boxes or Parcel Lockers with free shipping.
If your parcel is returned to us, the following conditions outline when additional shipping costs may apply:
*We will not be held responsible for delays or late delivery of Australia Post or courier services.
*If a parcel does not arrive as anticipated, please allow 5-7 working days for Australia Post or couriers to complete process of tracking and locating as in most cases it turns up after 3-7 days of expected delivery. We cannot refund or send another item until this process is completed.
*We don't take responsibility for orders that are lost or stolen once the parcel has been delivered to the correct delivery address.
*Items that are over 21kg may require to pay extra freight costs if in regional or remote areas - we will contact you if this is the case.
All of our prices are in Australian dollars (AUD) and include GST (Goods and services tax)
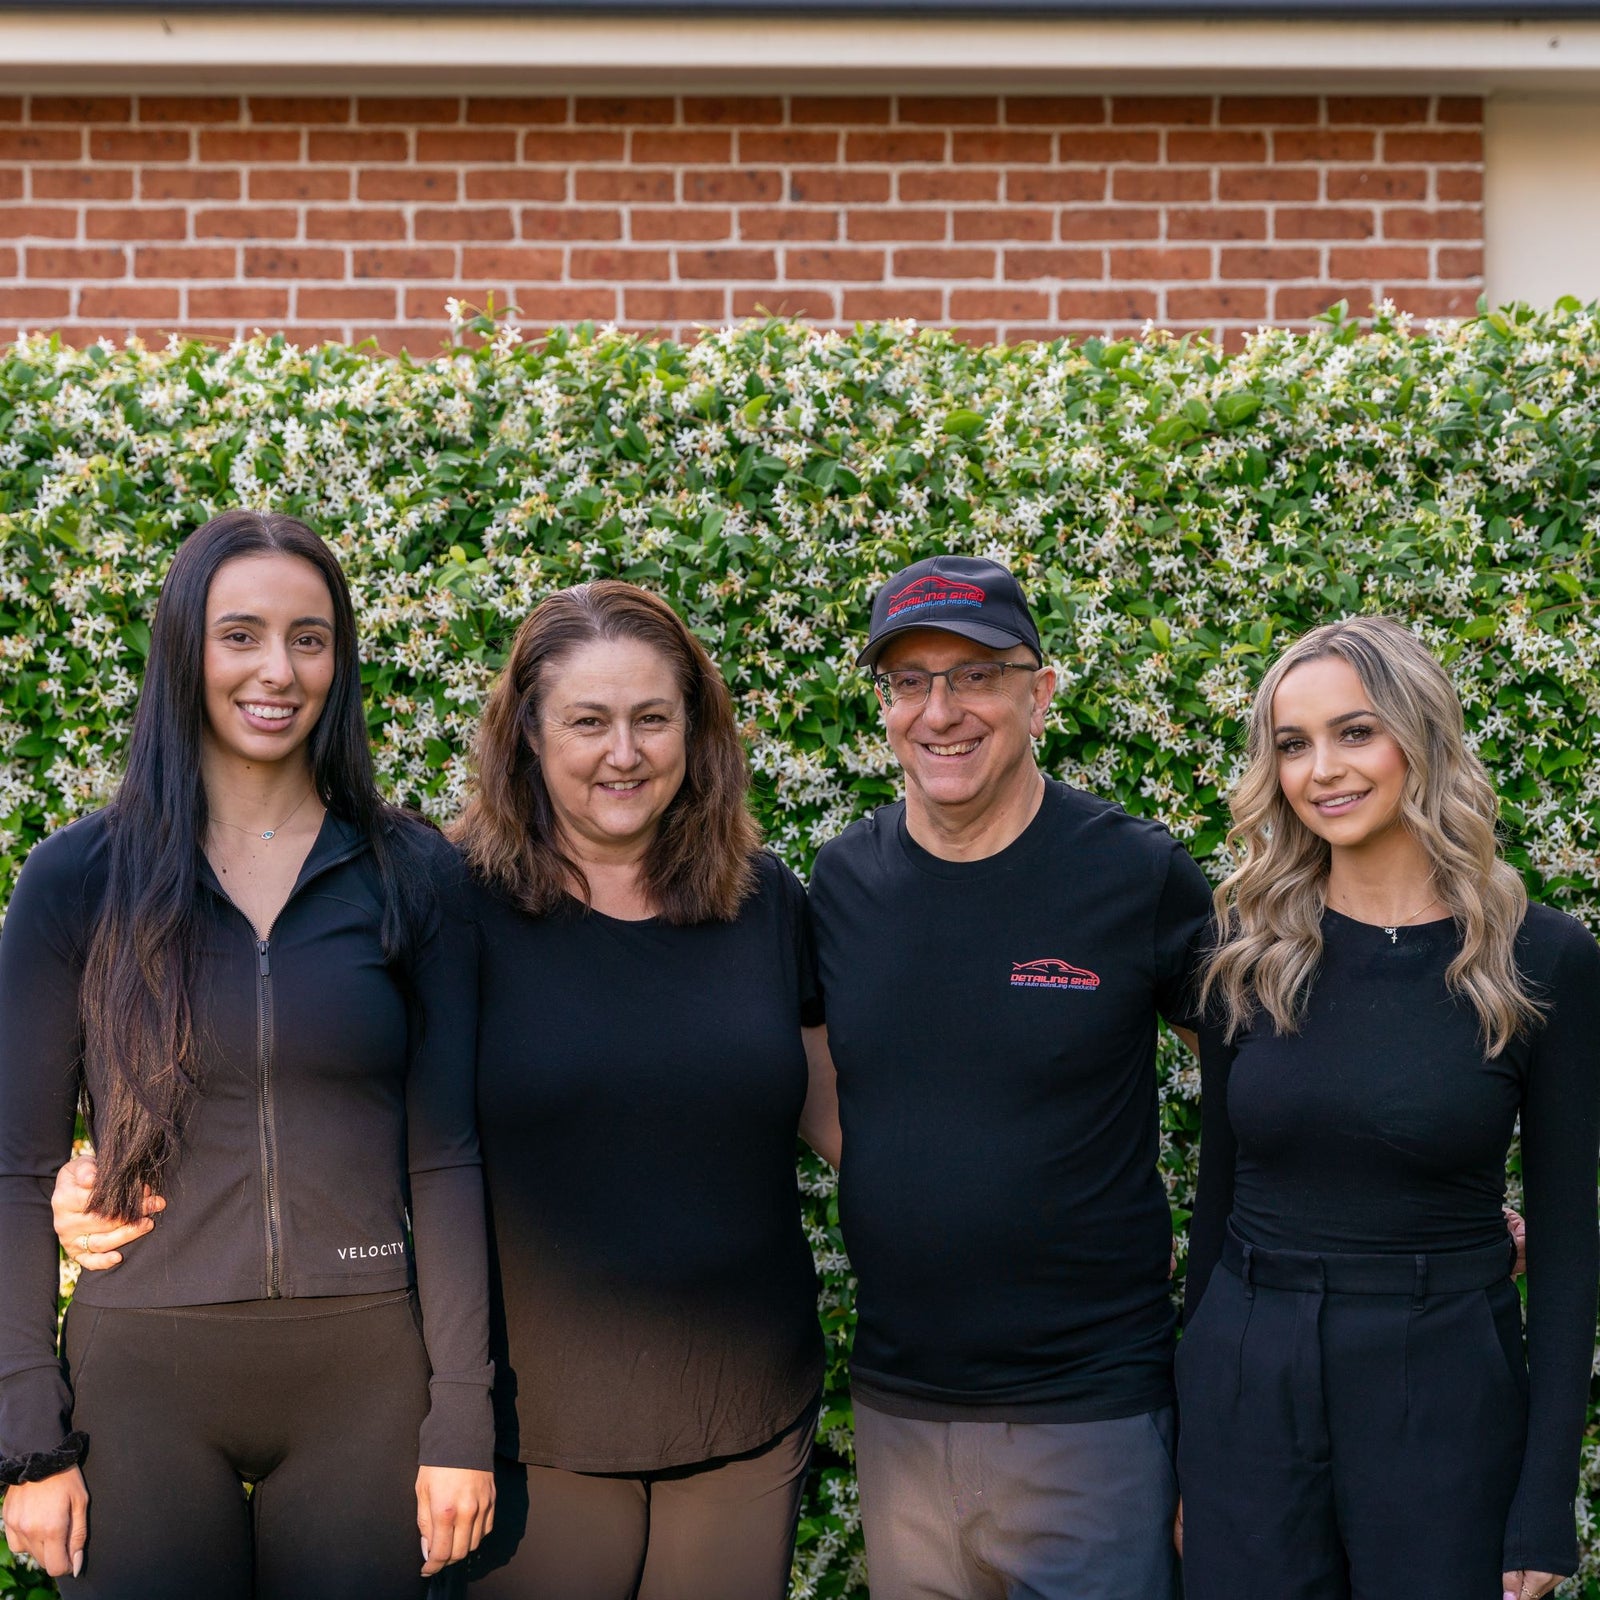
At Detailing Shed, we're a family-owned business that genuinely wants you to be happy with your purchase.
If something isn't right, please contact us before returning anything. In many cases, we can help resolve the issue with product advice, troubleshooting, or support from our team.
This policy explains how returns, refunds and warranty-related claims are handled while respecting your rights under Australian Consumer Law.
Nothing in this policy limits or replaces your rights under Australian Consumer Law.
If a product has a major or minor failure, you may be entitled to a remedy under Australian Consumer Law. The terms below primarily apply to change-of-mind purchases and circumstances not covered by consumer guarantees.
We may accept approved change-of-mind returns subject to the following conditions:
To request a return, email info@detailingshed.com.au with:
Due to safety, hygiene, freight and manufacturer restrictions, the following products are not eligible for change-of-mind returns:
These products cannot be returned for change of mind unless required under Australian Consumer Law.
With prior approval, we may accept returns on unused and unopened items such as:
Please contact us before sending anything back.
If you believe a product isn't performing correctly, please contact us before returning it.
To help us assess the issue, please provide:
In some cases, we may ask you to return the product for inspection.
If testing shows the product is operating as intended, the matter may be treated as a change-of-mind return and the standard conditions above may apply.
Products excluded from change-of-mind returns remain ineligible for return where no fault is found.
For orders shipped to New Zealand, customers are responsible for return shipping costs when sending back:
This applies to inspections, repairs and warranty-related claims.
Due to the high cost of international freight, we are unable to cover these return shipping costs.
If you've ordered the wrong item, you're welcome to return eligible products under this policy and place a new order for the correct item.
If you're unsure which product is right for you, our team is happy to help.
Orders can be cancelled before they have been processed or dispatched.
Approved cancellations will be refunded to the original payment method less a 3% payment processing fee.
Once an order has been processed or shipped, it can no longer be cancelled. However, eligible items may still be returned under our Change of Mind Returns policy.
If your order arrives damaged, incorrect or faulty, please contact us within 10 days of delivery.
Email info@detailingshed.com.au and include:
We'll work with you to assess the issue and determine an appropriate resolution.
If your parcel appears to be missing, we'll work with the carrier to investigate.
Please allow 7-15 business days for the investigation to be completed before a resolution can be finalised.
Manufacturers occasionally update packaging, labels and colours without notice.
As a result, the product you receive may vary slightly from the images shown on our website. This alone does not constitute a fault provided the correct product has been supplied.
Discount codes must be applied during checkout.
Unfortunately, discounts cannot be applied retrospectively and we cannot refund the difference after an order has been placed.
If you're experiencing issues with a discount code, please contact us before completing your purchase.
We're always happy to help.
Email: info@detailingshed.com.auinfo@detailingshed.com.au
When contacting us, please include:
Our team will do their best to resolve your enquiry quickly and fairly.
We're here to help
If you need to contact us for advice on any of the products, please email us at info@detailingshed.com.au
Please include description of the product you are interested. Some info of you car, and also what you are trying to achieve.
We may also review our blogs for product recommendations.
Overall rating: 5.0 / 5 from 1 reviews.
Review topics: [].
"After applying liquid PPF to a customers Corvette C1 they were blown away by the outcome The scratch resistance gives the jet black that scratch free finish it deserves wash after wash"