At the Detailing Shed, our approach is to show you our way to a great finish that will keep you looking at your vehicle every time you walk past it.
The approach:
To us it is a given, but we must remind you to park your vehicle in a shaded area.
Hot paintwork = quick drying times = Shampoo and water stains = more work.
Our products are pretty forgiving however, if the car is hot to touch, let it cool down – It will give you better results the first time.
Hint: Early mornings or late afternoon are generally the best times to clean that marque of yours.
Grab the stuff you need before starting the clean:
Stopping mid clean is frustrating. The Detailing Shed is all about investing your time efficiently so that you get the best results;
- We set up our Kranzle K1152TST Pressure washer including theMTM Pro Kit giving yourself ample hose and fit your DETAIL GUARDZ HOSE GUIDE at the corners of your wheels. These are great at stopping that annoying tug of war with the tyre and the hose which in our experience hits the car when you try and ‘whip it’ from underneath the tyres
- We added 50ml of Koch Chemie Gentle Snow Cleaning Foam (GSF) Ph Neutralinto your 2 Foam Canon and add 900ml of water. This will give you a nice thick consistency over the bodywork of the vehicle (you can use less but the thicker mixture gives better results. When mixing, make certain you gently swirl. (Think of a James Bond Martini – Swirl not stirred). That’s one approach, but ultimately you don’t want any air bubbles
- Fit your Detail Guardz Dirt Lock into your freshly cleaned Wash and Rinse buckets:
- Grab the following products
- Koch Chemie Reactive Rust Remover (Rrr) Iron Fallout,
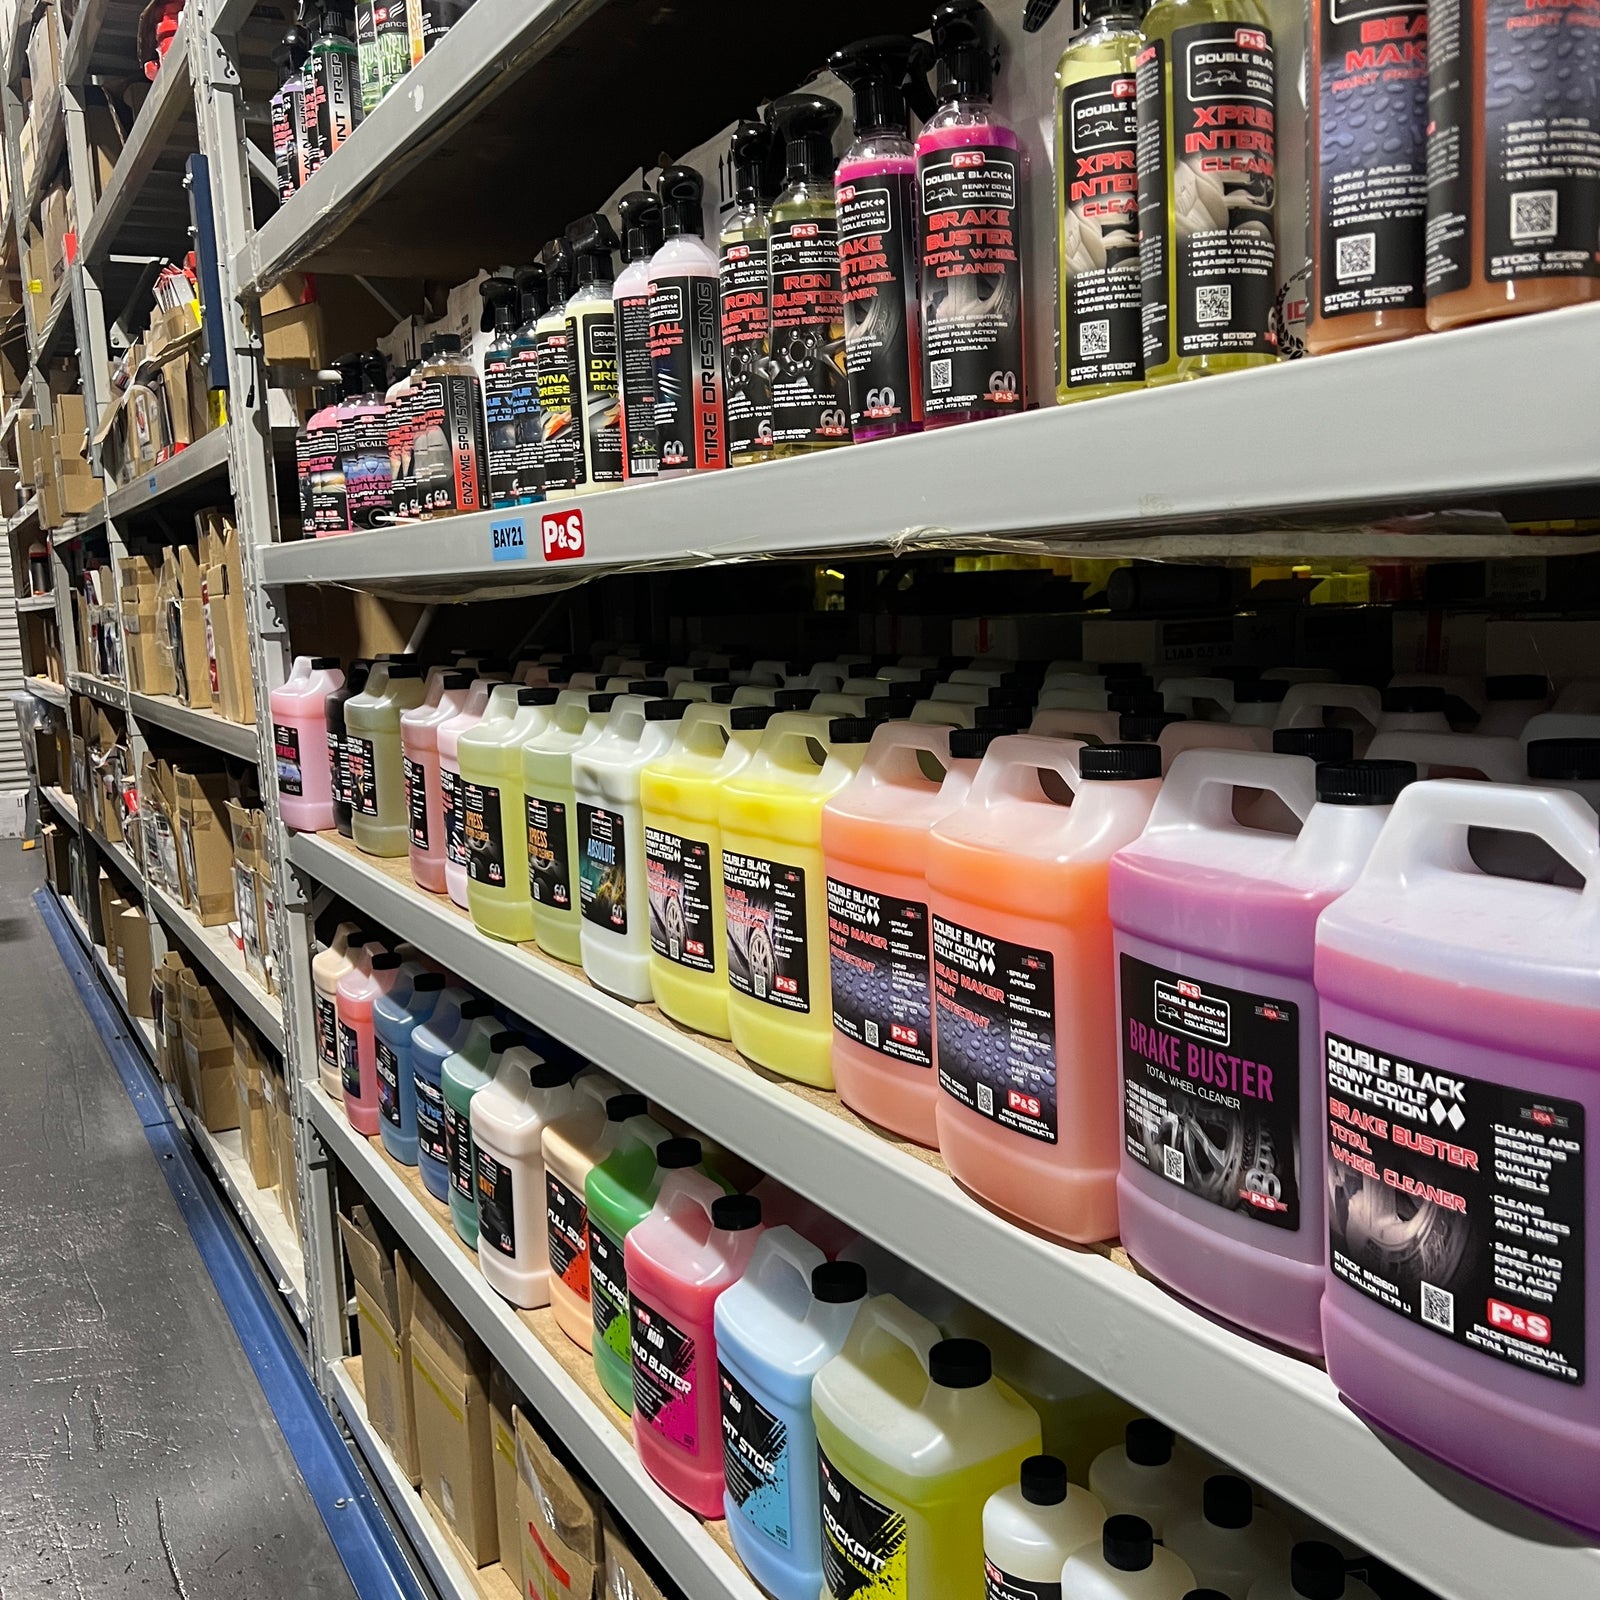
- P&S Brake Buster Non Acid Foaming Wheel Cleaner,
- Max Shine microfibre Finger wheel and rim wash mitt,
- Wheel Woolies, Braun Safest Wheel rim brush and Nylon Tyre Cleaning Brush for your wheels.
-
grab a pair of Bastion Nitrile Black Powder Free Detailing Gloves.
Now the fun begins:
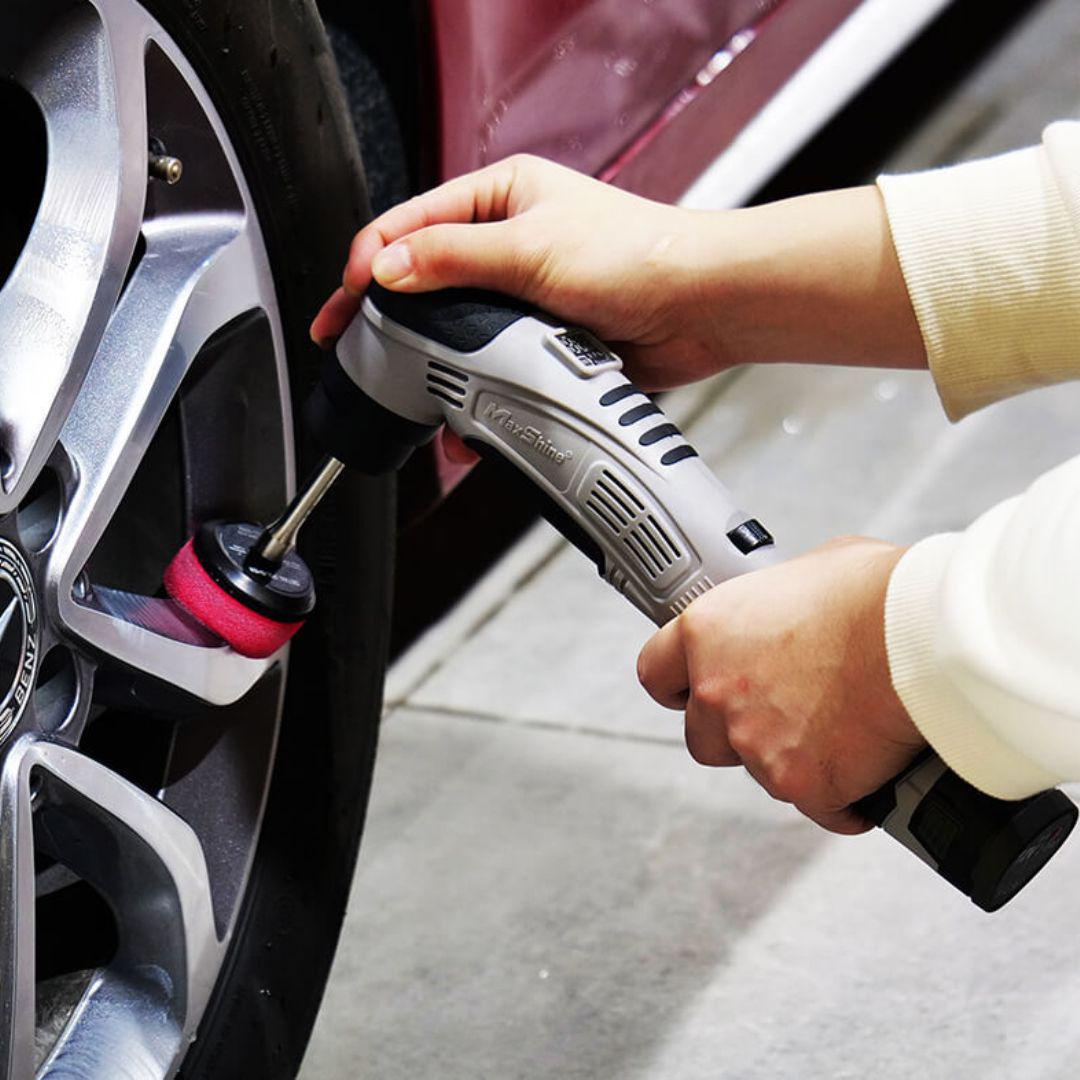
Starting with the wheels:
- To keep your hands nice and soft, put on your Bastion Nitrile Black Powder Free Detailing Gloves.
- Spray the Koch Chemie Reactive Rust Remover (Rrr) Iron Fallout liberally on each wheel. Get in and around the spokes and allow 2 – 5 minutes to soak in (The dirtier the wheel, the longer you leave it). Big tip - Don’t let it dry.
- Using the two-bucket method on each rim:
- Dip your Maxshine Microfiber Finger Wheel and Rims Wash Mitt into the wash bucket with your Shampoo mixture. Clean in and around the spokes
- Rinse wash pad in the rinse bucket, and dip it back into the wash bucket. Repeat the previous step and clean in and around the spokes again
- Next, grab your Wheel Woolies PLUS 3 Pack and get into the nooks and crannies that the wash pad just doesn’t get to. Make sure you go the full width of the rim. The dirtier the rims, the more mess it will make. You will see by the mess, that you are well underway to make those rims look amazing. Make sure you use the two-bucket method when using your wheel woollies as well. You want to minimise the risk of scratching the rims with dislodged dirt
- Lastly, grab your Braun Safest Wheel rim brush dip it into the GSF wash mixture and wash the face of the rims, making sure that you get into where the wheel nuts are located
- Whilst the rims are soaking, spray P&S Brake Buster Non Acid Foaming Wheel Cleaner directly onto the tyre wall and using the nylon tyre brush, scrub the tyre to remove all previous dressings. You’ll notice the colour change and the tyres returning to their original lustre
- With a medium to high pressure on your Kranzle K1152TST Pressure washer, wash down cleaning product from your rim and tyre
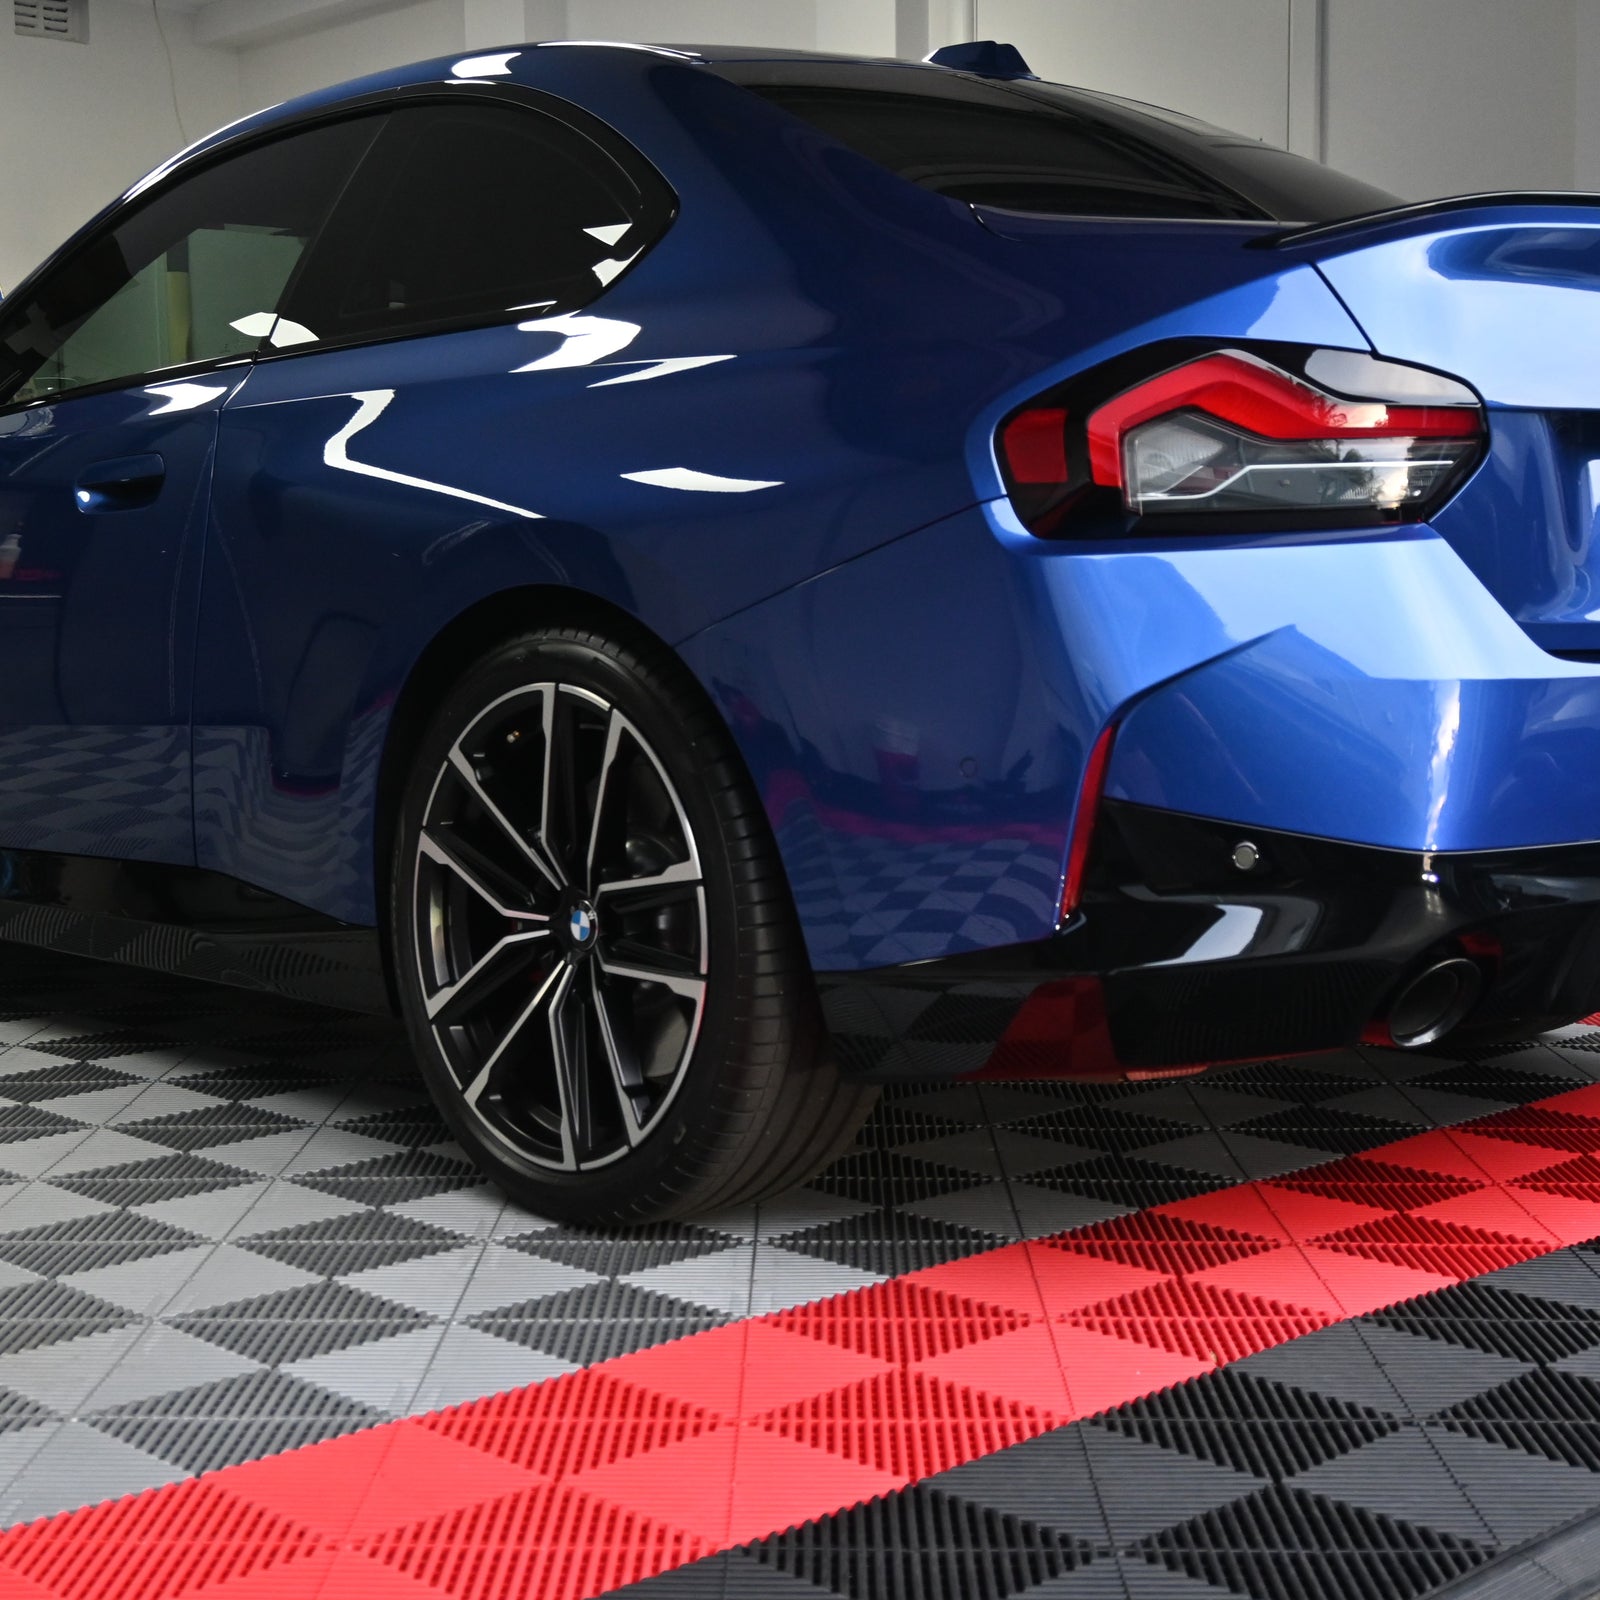
- Last but not least, take a few steps back and admire your handy work.
- We’ll dry the wheels shortly (After we’ve washed the body.
- A question that we get asked often is. Will it mark or tarnish my brake callipers and Rims? The Simple answer is No! but please contact us if you have any concerns
Moving onto the body: Washing
- Grab your 2 Foam Canon with your Koch Chemie Gentle Snow Cleaning Foam (GSF) Ph Neutral shampooand water mixture affix to your Kranzle K1152TST Pressure washer and foam evenly across the entire surface of the vehicle.
- Start from the middle of the roof and work your way out and then down the body of the car (make sure you go in, under and around the wheel arches)
- Leave a good 5 minutes to allow the dirt to break down.
- Using your Kranzle K1152tst Pressure washer and your lance, hose all the product of your vehicle, again starting from the roof and working your way outwards and down the body of the car (it will reduce time and of course save some water).
If you only have a garden hose:
Grab your freshly cleaned Rinse and Wash buckets (Add 40ml of GSF) into the wash bucket and lather the GSF mixture soap onto your Wooly Wormit Wash Mitt. Wash one panel at a time ensuring that you rinse the mitt before dipping it back into the wash bucket.
Hint #1: Wash the vehicle in straight lines (Not a circular motion as this may cause swirl marks in the paint)
Hint #2: If the Wooly Wormit Wash Mitt hits the deck, rinse it before dipping it back into the wash bucket. (No 3 second rule applies here)
Continuing with Wooly Wormit Wash Mitt, clean your door, boot and bonnet openings of any dirt or leaves. Make sure that you undertake this as the last task as it will dirty your Wash mitt.
Hint #3: Care is required to ensure that product and / or water is not splashed inside the car.
With the garden hose on a medium spray pattern and pressure, simply wash the product away starting at the top of the vehicle. Keep the hose itself away from the body of the car
Drying the vehicle
The key to drying the vehicle is start from the top and work your way down. Let gravity do its thing.
Bodywork - Using your The Rag Company The Liquid8r Drying Towelto dry your vehicle, start from the roof and work your way down towards the bonnet and the boot.
You may need a few microfibre drying towels to ensure that the vehicle is dry
Hint #1: You will start to leave streaks of water behind if the cloth is too damp.
Make sure that you dry around the door, boot and bonnet openings and generally in that order
Glass: – Use your Max Shine twisted loop Glass Drying towelto achieve great results on your glass
Hint #2: Gently clean your wiper blades of road grime from your windscreen. This can increase the life of your blades.
Wheels: for best results use microfibre cloth to dry the rim
Hint #3:Natural air drying or allowing it to dry without using your microfibre cloth or Blower will likely cause watermarks to your paint.