How To Prepare For Application
To ensure the best results and maximum bonding of the ceramic coating, thorough preparation of the surface is essential. Follow these steps before applying Graphene Professional V2.0:
- Start by thoroughly cleaning the surface to remove any loose dust, dirt, and contaminants. A clean surface is crucial to allow the ceramic coating to adhere properly and create a strong bond.
- Use a clay bar to eliminate any rough embedded contaminants. The clay bar will help remove stubborn impurities that ordinary washing might miss, ensuring a smooth and contaminant-free surface.
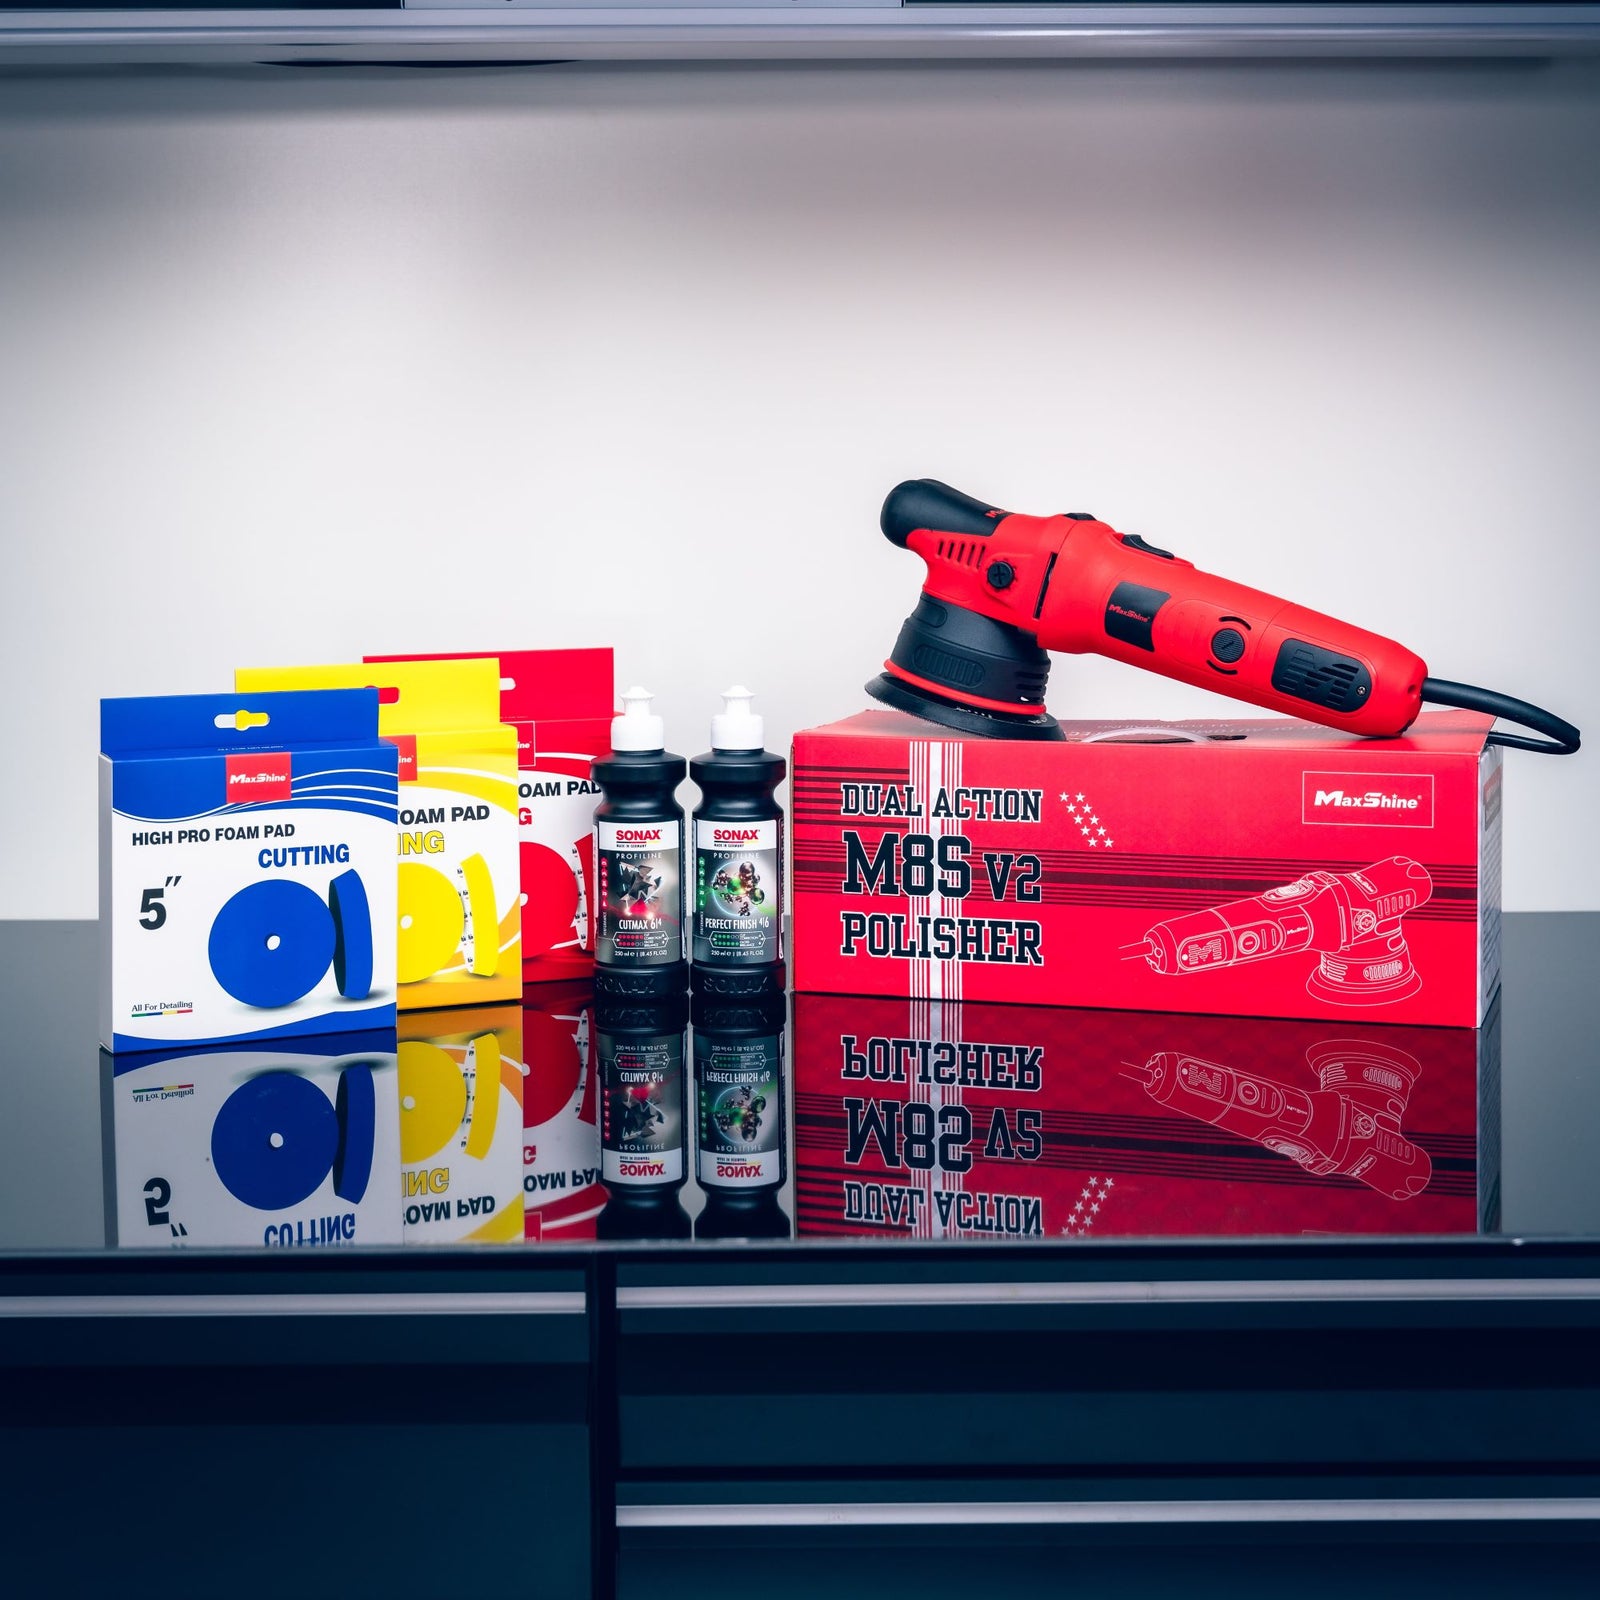
- Polish or compound the paint to address any scratches, swirl marks, or oxidation. It is important to rectify any paint defects before applying the ceramic coating, as Graphene Professional V2.0 is a semi-permanent coating, and any defects will remain sealed underneath.
- Deep clean the surface with Ethos Detox. This step ensures that any polish oils or residues are removed from the surface, preventing any interference with the bonding process of the ceramic coating.
- Check and remove any residual water that may be hiding underneath panel gaps, headlights, or taillights. This is crucial as any dripping water can affect the curing process of the ceramic coating, leading to uneven application and potentially compromising the coating's performance.
Installation Notes
During the application of Graphene Professional V2.0, several factors can influence the coating's effectiveness. Pay attention to the following installation notes:
- For optimal results, apply the coating in temperatures between 65-75°F (18°C-24°C). The temperature and humidity can significantly affect the "flash" time, which is the time between application and when the coating is ready to be wiped off. Before applying the coating to the entire vehicle, conduct a small test section to determine the workability under the prevailing conditions.
- Graphene Professional V2.0 is versatile and can be applied to any painted, plastic, or glass surface, including windshields. This allows for comprehensive protection and a consistent finish throughout the entire vehicle.
How To Apply
With the surface fully prepped and the installation notes in mind, you are now ready to apply Graphene Professional V2.0. Follow these steps for a successful application:
- Ensure the surface is impeccably clean and decontaminated with Ethos Detox. The cleaner the surface, the better the bond between the ceramic coating and the paint.
- Shake the bottle well before use to ensure a homogeneous mixture, allowing the coating to be applied evenly.
- Apply a few drops of Graphene Professional V2.0 onto your applicator, ensuring that the applicator is evenly covered with the coating product.
- Start applying the coating on the horizontal and top surfaces first, working in straight lines with slight overlaps. For ease of application, work in small areas, approximately 2'x2', or the size of a door or half a hood at a time.
- The applicator should glide smoothly on the surface while laying down an even layer of the coating. If the applicator starts to drag or the application becomes inconsistent, apply additional drops of the product to the applicator.
- Immediately after application, you may notice a "Rainbow Effect" on the surface, especially on dark-coloured cars. After approximately 45 seconds to 1.5 minutes, the "Rainbowing" will start to turn into a haze/fog. This indicates that the coating is ready for removal. Please note that temperature and humidity can expedite the flash time. Therefore, it's essential to test a small area before continuing to coat the rest of the vehicle.
- Use premium microfiber towels, preferably edgeless towels, to thoroughly wipe down the section and remove the Graphene Coating residue. During removal, use gentle circular motions and apply little to no pressure to avoid creating any unwanted marks on the surface.
- While removing the residue, check adjacent panels to ensure no excess coating has been pushed to other areas. We recommend using a flashlight or smartphone light for inspection to make sure every bit of residue is gone. Failing to remove all residues during the flash time may result in dark spots once the coating cures, requiring polishing or compounding to remove. Therefore, be thorough and continue to check your work before moving on to the next step.
- Repeat these steps as you proceed along the rest of your vehicle, coating the paint, plastics, trim, and glass surfaces in the same manner. If layering the coating for additional protection, allow at least one hour between coats.
- After applying the coating, let it fully dry and cure for at least 48 hours before allowing it to come into contact with water. The longer the coating stays dry, the better, as it will continue to cure for about 5 days (You can drive the car during this time). Following these guidelines will ensure the best results and provide your vehicle with long-lasting protection and a stunning finish.
Good luck and Happy Detailing!
