


As car enthusiasts, having our cars protected and always looking their best is something that we all aim to achieve. Ceramic and Graphene coatings have become the industry standard for vehicle surface protection, able to out perform traditional wax’s and sealants for durability, chemical resistance, gloss and water repellence. Where the original ceramic coatings were difficult to work with and generally reserved for professional use only, many advancements have been made over the years to the point where enthusiast detailers can now apply these coatings at home.
In this DIY article, we will cover the application of a ceramic coating from start to finish, as well as how to maintain your coating going forward. For the purposes of this article, we will focus on applying a ceramic coating to paint, however the process is transferable to other areas of the car.
Benefits of Ceramic Coatings
Ceramic coating offers numerous benefits, including:
- Long-term durability/longevity.
- Chemical and environmental fallout resistance.
- UV Protection, shielding your car's paint from harmful UV rays, preventing oxidation and fading.
- Easier, and therefore safer cleaning
- Superior water repellence/water beading characteristics.
- High levels of gloss, giving your car a deep, glossy appearance that will turn heads on the road.
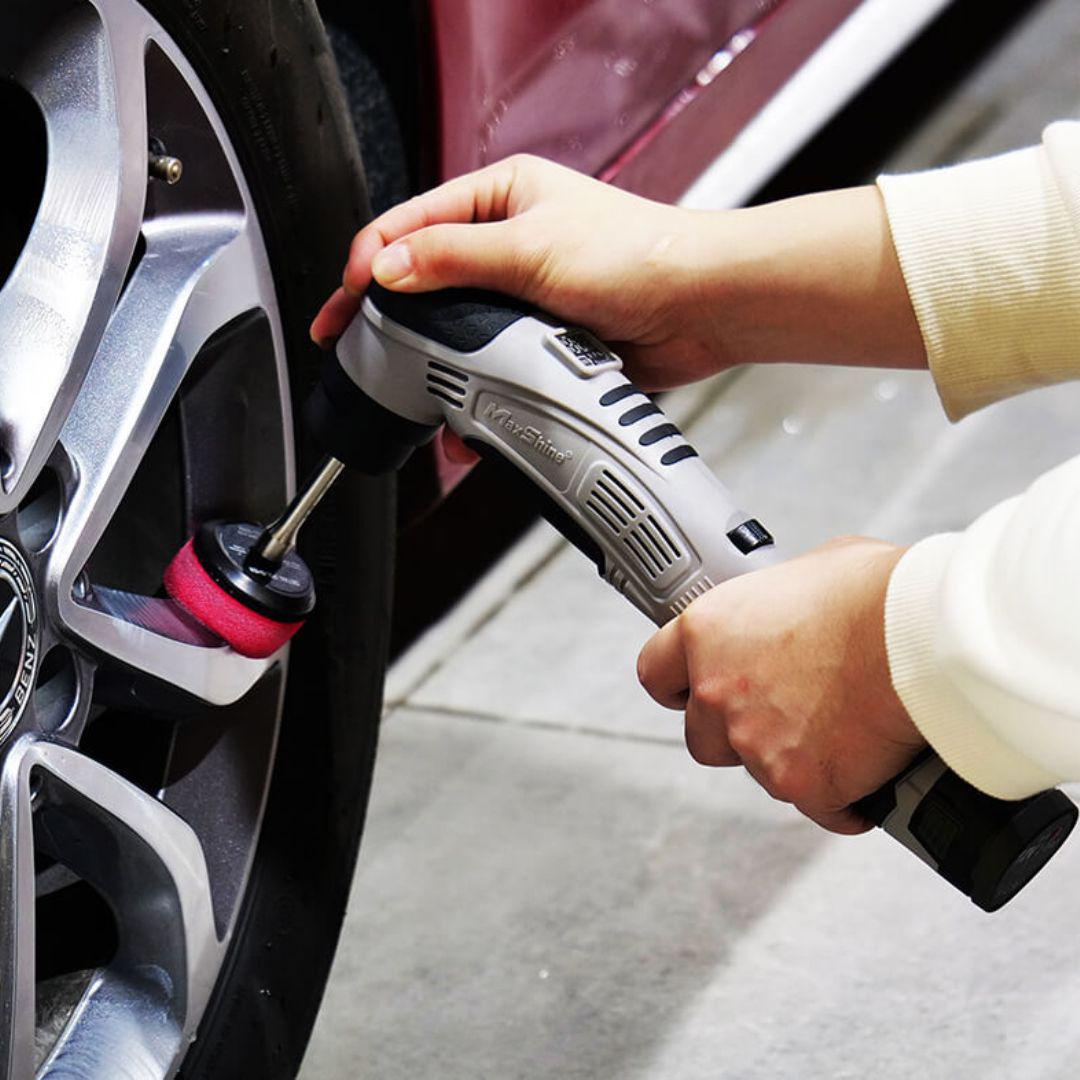
- Ability to tailor the formula to suit various vehicle surfaces. For example, coatings for wheels have a higher temperature tolerance to deal with the heat generated by the braking system, engine bay, and exhaust.
What Products do you need?
Products for coating
- Ceramic Coating: The options are seemingly endless, which you choose will come down to your experience level, required longevity, and desired look and feel. There are three coatings we typically recommend for those new to ceramic coatings – Gtechniq Crystal Serum Light.
- Prep Spray:Use the prep spray recommended by the coating manufacturer to ensure a strong bond to the paint. For example, Gtechniq Crystal Serum Light is best paired with Gtechniq Panel Wipe.
- Coating Applicators:Most ceramic coatings come with an applicator in the package, but it’s a good idea to have a couple on hand just in case. We recommend - GTECHNIQ AP5, The Rag Company Applicator ÐOS Applicator.
- Leveling Towels: a low pile towel is needed, especially the initial wipe. We recommend and use the Edgeless 300 for this role, but the Gtechniq MF1 and Edgeless Pearl are great choices too.
- Optional (great to have) - Diffused Light Source:This is helpful in detecting for high spots after leveling the coating. The diffuser softens the light output and makes high spots easier to pick. We recommend - Scangrip Diffuser,Scangrip Sunmatch & Scangrip LED.
Products for preparation
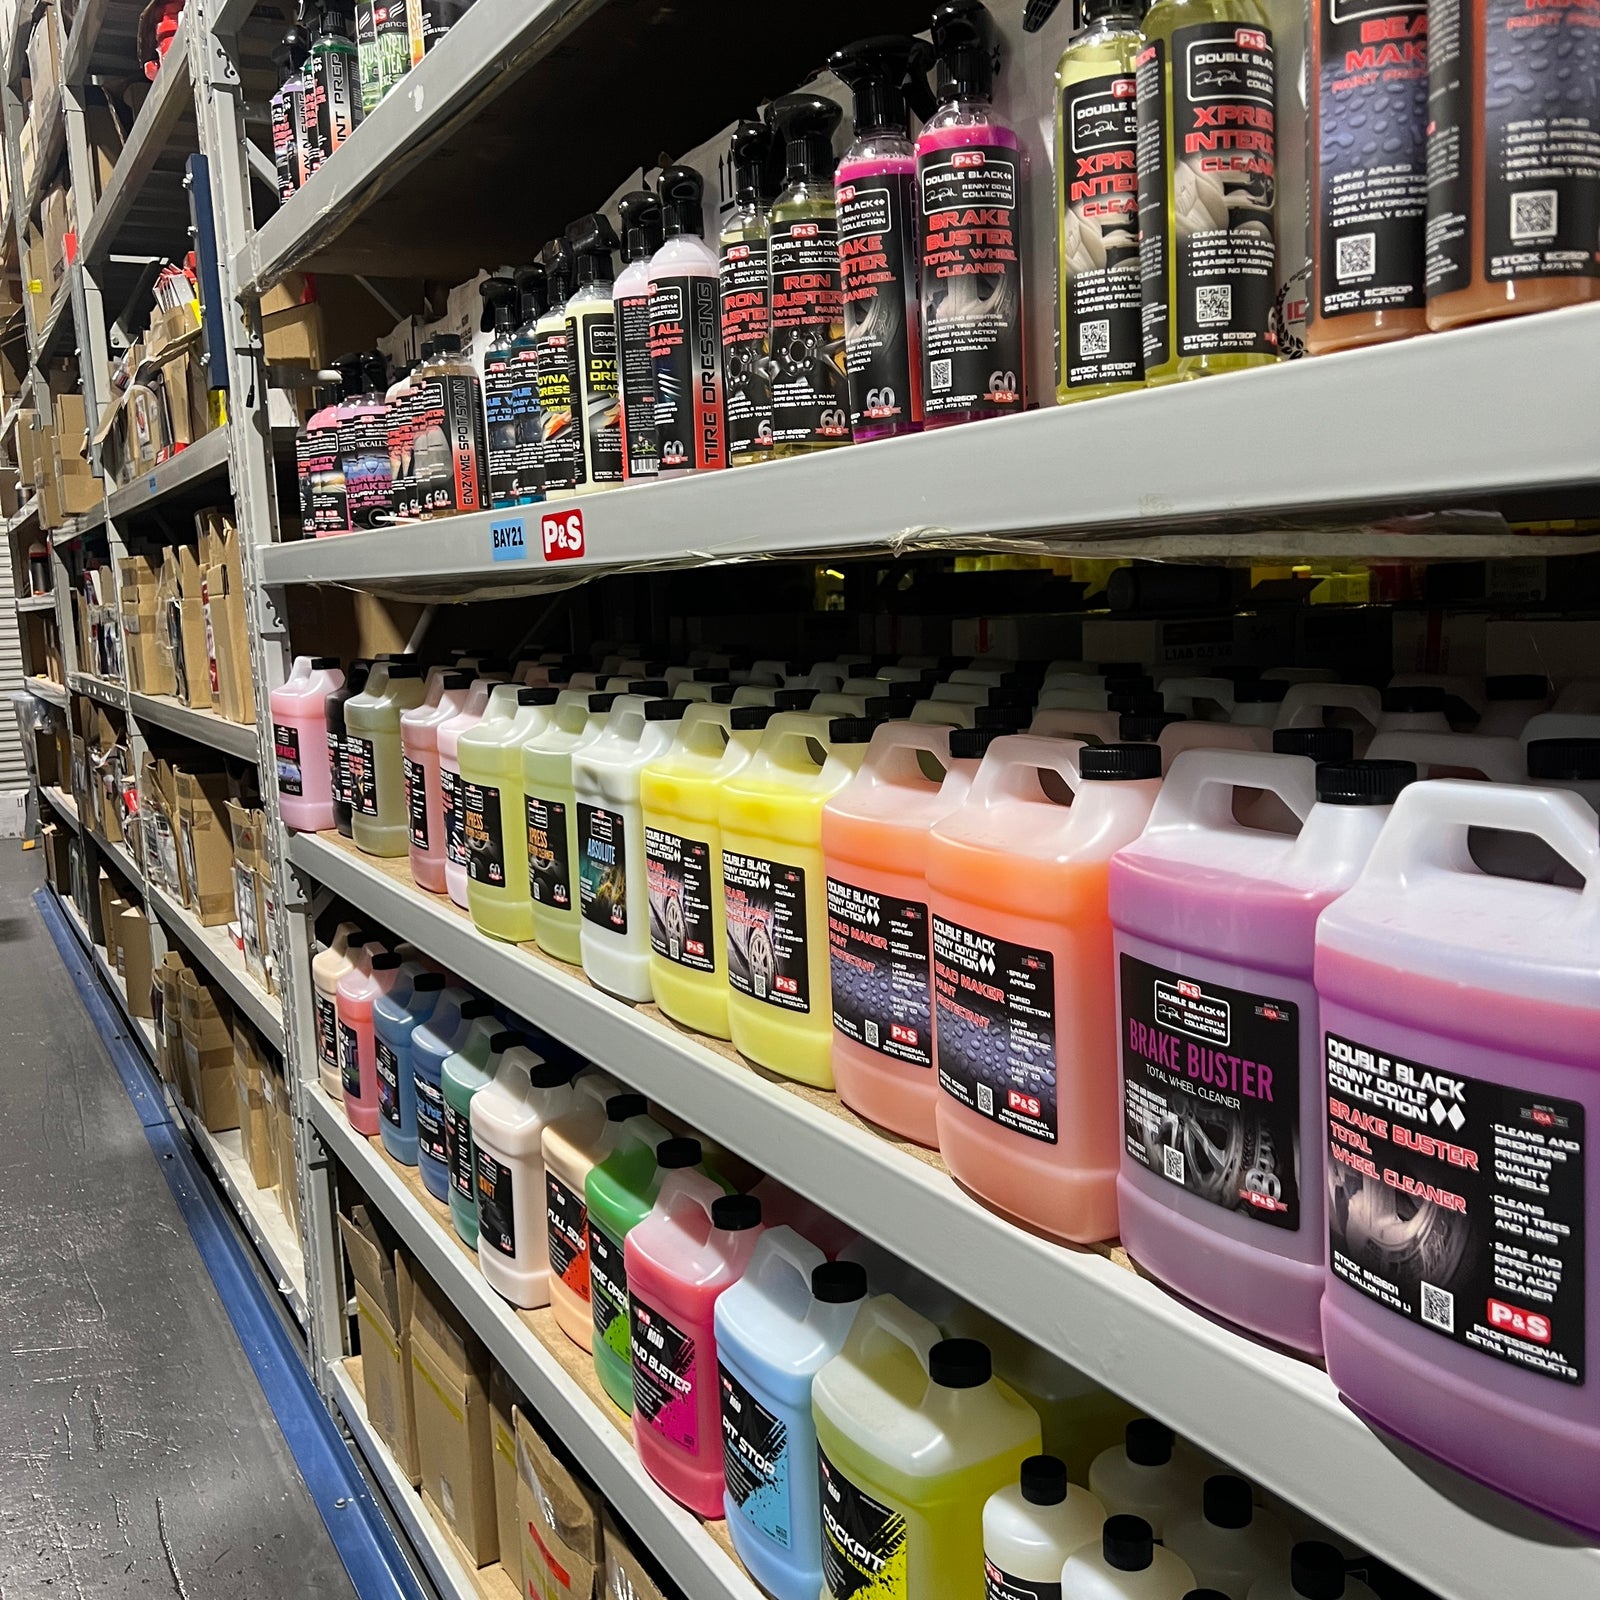
- Decontamination Soap:A higher pH soap like Obsessed Garage Decontamination Soap designed to remove previously applied products and more stubborn grime
- Iron Remover Chemical: Iron removers dissolve iron deposits that accumulate over time. Once dissolved, these contaminants can be easily rinsed from the vehicle. Some options include Gtechniq W6, 3D BDX Brake Dust Remover.
- Clay Product & Lubricant:Clay products come in several different forms now, from conventional clay bars to clay towels and mitts. These help dislodge imbedded contamination that is still remaining after the use of an iron remover. Best teamed with a dedicated lubricant to minimise marring of the paint.
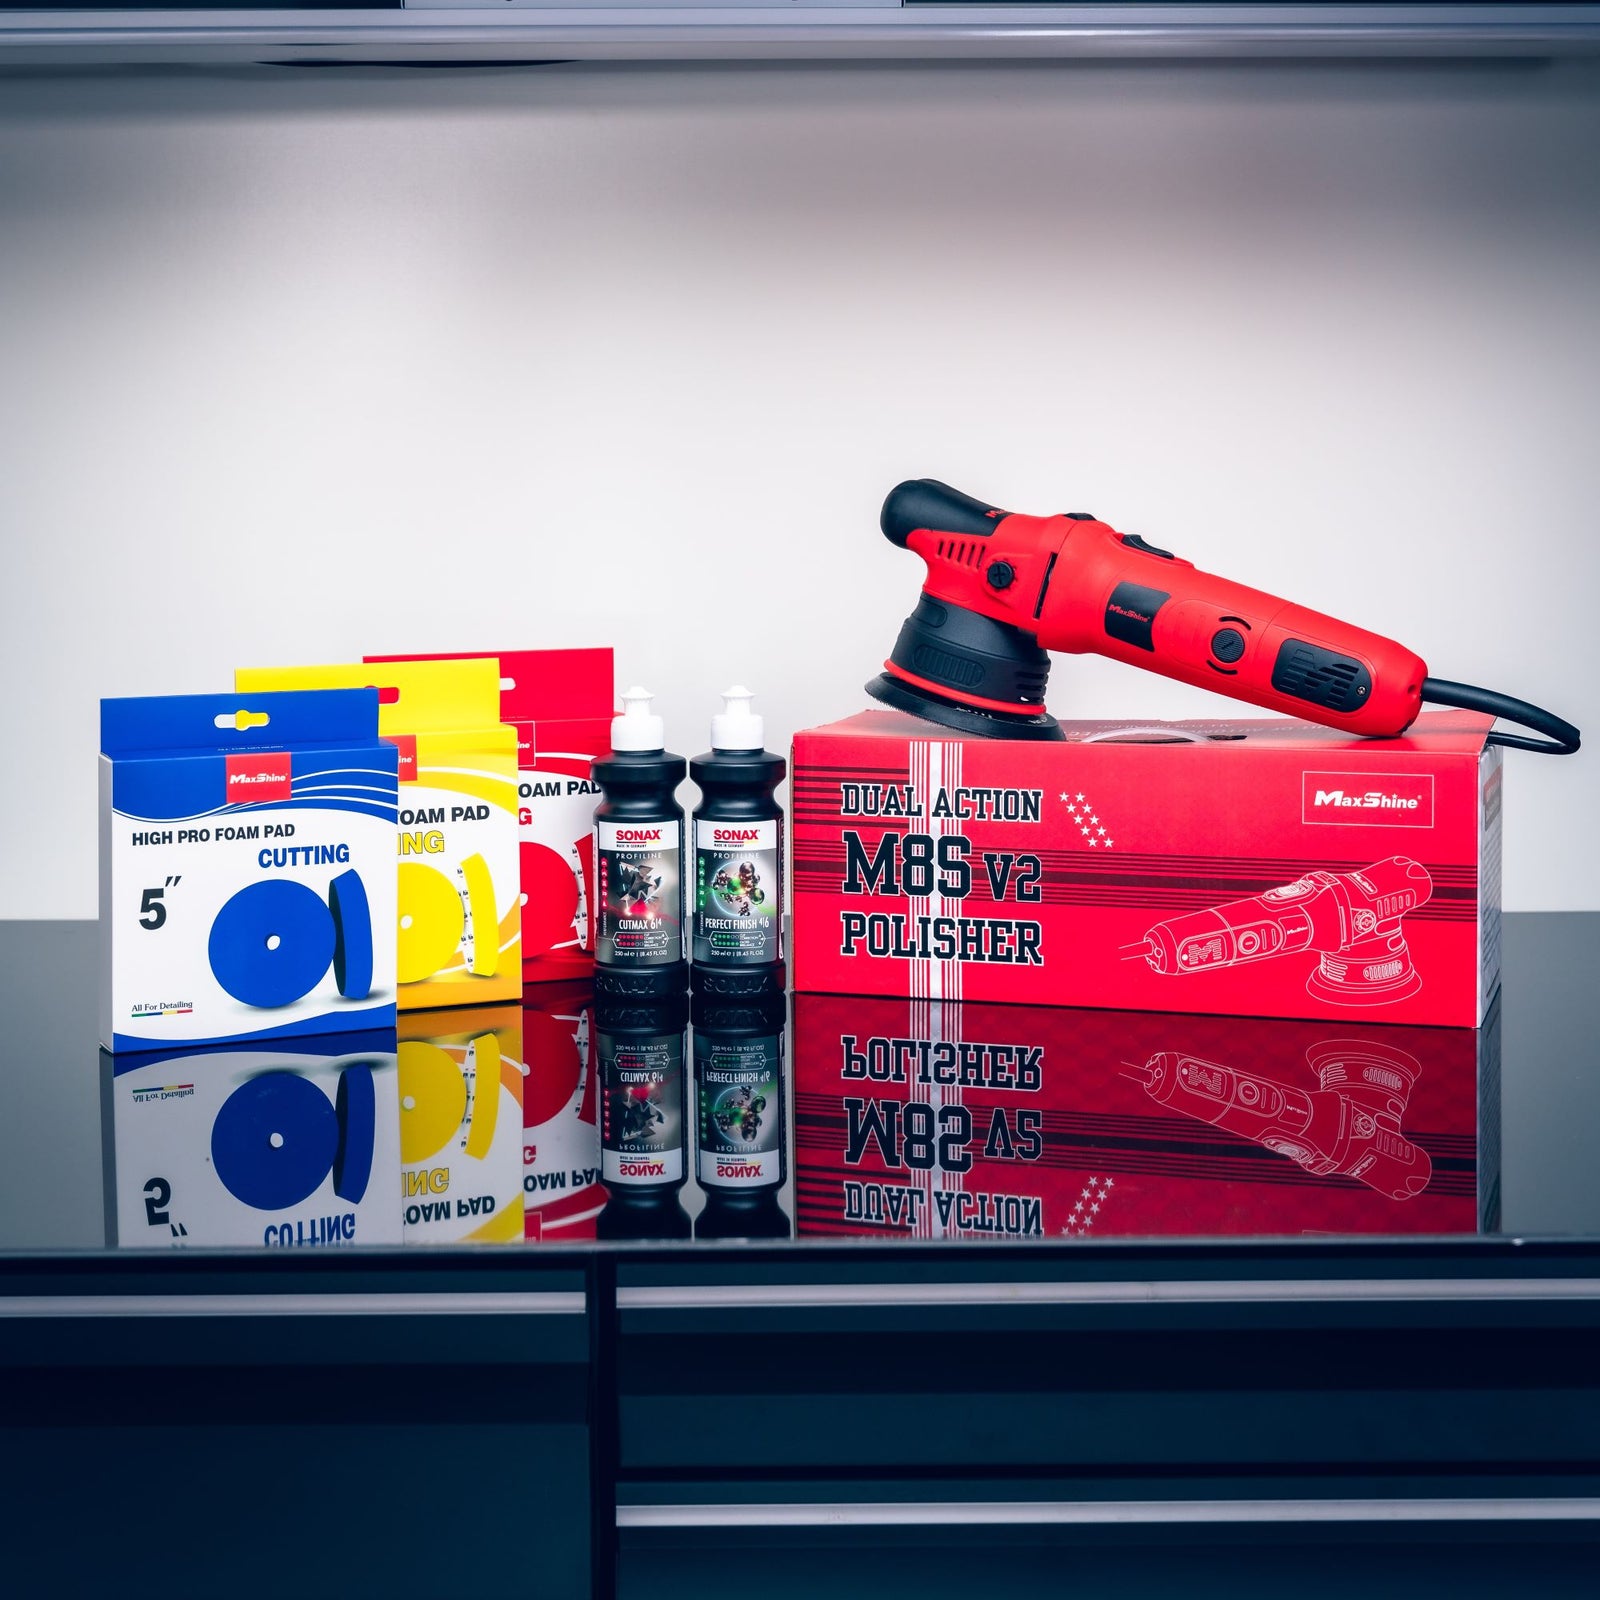
- Polishing Compounds and Machines: A very subject topic that will vary from car to car, so follow the link for more information - How To Polish A Car.
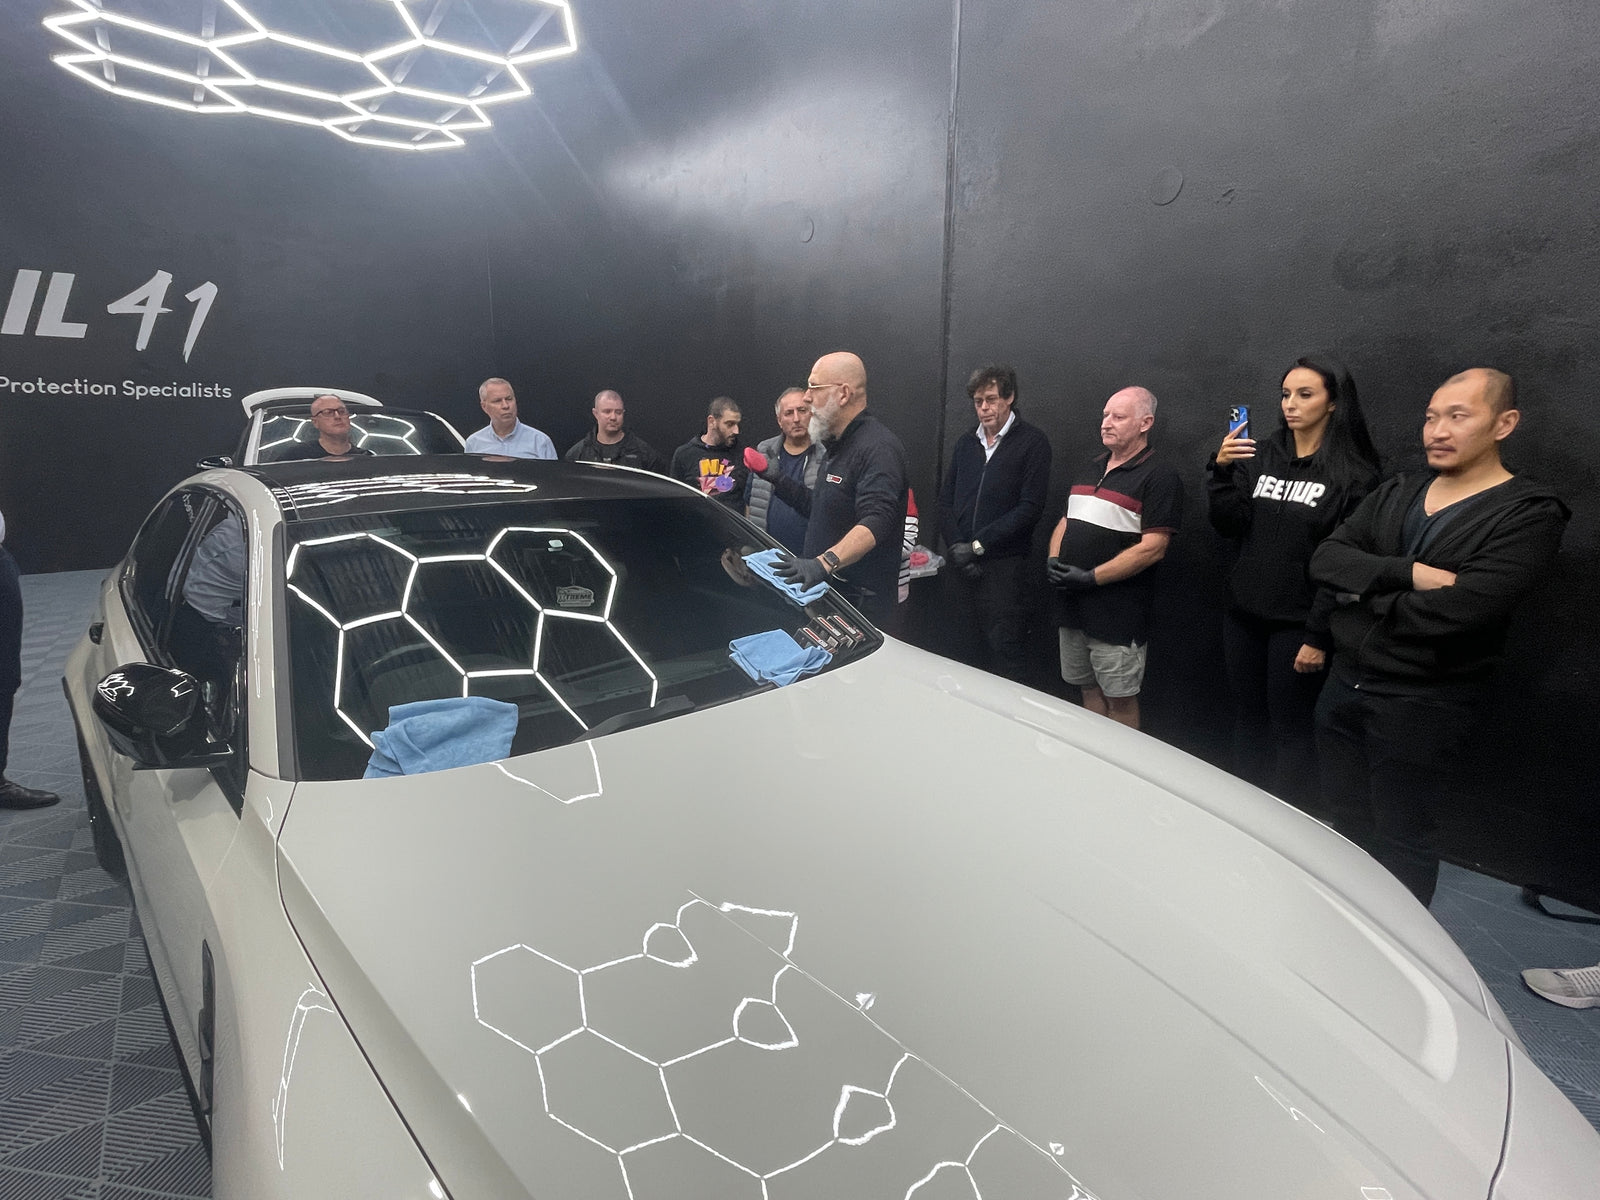
How To Apply a Ceramic Coating
Applying a ceramic coating is all about preparation and a methodical working style. The actual application of the product is somewhat simple, it's preparing the paint to properly accept the coating that takes the most time. This is why a professionally applied ceramic coatings can cost so much, you are paying for the detailers time and effort.
Preparation
- Apply an iron remover to the paint. As the iron remover reacts and dissolves the embedded iron contaminants, the chemical will change colour. Don’t pre-rinse before application to avoid diluting the chemical and ensure a more thorough reaction. After allowing to dwell for several minutes, rinse thoroughly.
- Wash with a decontamination soap to thoroughly remove dirt, oils and grime.
- Next, follow with a clay treatment using a clay bar, mitt or sponge. Best used with a dedicated Clay lubricant.
- We do this while the car is still wet after the iron removal and wash, which then allows us to rinse the lubricant off the car prior to drying, saving time and effort.
(Note - a more detailed/thorough decontamination procedure is outlined in the link below.)
How To Decontaminate
- Dry the car thoroughly. And inspect for defects and scratches.
- At this point, if the car needs to be polished, this is when you would do that. Again, this is very car dependant on what products and machines to use.
- Wipe the car down with a chosen prep spray. This removes any lingering polishing oils, chemical residue, and oils. Be generous and thorough here.
Application
Always follow the specific direction provided by the coating manufacturer, which will give you tips on how best to proceed and what to expect. Always apply the coating out of direct sunlight, preferably in a well-ventilated garage. Always wear nitrile rubber gloves.
- Prime the applicator with a generous amount of ceramic coating. Subsequent additions to the applicator going forward will be much smaller. A little goes a long way.
- Working in small, manageable sections, apply the coating to the paint. Be methodical in making sure to apply an even, thorough coat. We divide larger panels into smaller sections, applying a “guiding” line down the middle of that section, followed by creating a rectangular outline and then working back and forth to fill in that rectangle. Make overlapping passes to ensure complete coverage.
- Following the manufacturer’s recommendations, allow the coating to “flash”. Some coatings will “sweat” or exhibit small bubbles, some will “rainbow” or exhibit streaky multicoloured lines. The time frame for this to happen varies from coating to coating and ambient temperature/humidity levels.
- Once the coating has flashed, start leveling the coating with your first towel. Use light pressure to remove most of the residue. Follow up with a secondary towel to ensure a thorough, high-spot free finish. Be sure to overlap surrounding areas to prevent accidental high spots.
- Once applied to the whole car, allow the coating to cure. Again, this varies from coating to coating, but typically involves allowing at least 12 hours before getting wet, and 7-14 days before washing.
Maintenance
One of the key benefits of a ceramic coating is easier cleaning, but that doesn’t mean you can neglect it. Regular washing and occasional decontamination will ensure your coating continues to perform and reach those longevity claims. Regular applications of a ceramic toppers are also a good idea, helping to extend the longevity and performance even further.
Tips, Tricks and What to Avoid
- Avoid applying the coating in excessively cold or hot temperatures. In such conditions, you may notice the coating flashing too fast or too slow, you may also struggle with the wipe off. Best conditions for application are between 10 to 28 degrees and low humidity.
- We like to have two different coloured towels for leveling/buffing the coating. This allows you to keep track of which towel is which. Flip the towels to a fresh section as you work your way around the car, swapping them for a new towel as needed. It’s good practice to have a decent supply of both initial and final wipe towels so you don’t run out mid job.
- After application, it’s best to demote the leveling towels to the dirty jobs pile. Cured coating residue left in the towel will cause scratches.
- Avoid placing you towels on the vehicle as you work, this limits the potential for high spots left by coating residue in the towels.
- If you do notice a high spot, say the next day, depending on the coating this can be removed in a couple of ways. First, apply a small amount of coating over the spot, wait for it to flash and level. Most times that will remove the high pot. You would otherwise need to spot polish and re-coat the spot.
- Avoid getting the car wet during the stated cure period. We recommend to plan ahead and check the weather forecast. Otherwise, if rain is predicted and you need to use the car, you can apply a product such as Gtechniq C2v3 to provide a sacrificial layer while the coating cures.
Q&A
Does a ceramic coating negate the need for maintenance –
No. You will get the best out of your coating with regular, safe washing methods, regular applications of a ceramic detail spray, and occasional decontamination to ensure the coating performs at its best.
Why do ceramic coatings require periodic decontamination?
Think of a ceramic coating as your skin, as in it provides your body a durable but breathable coating to protect what lies beneath. Naturally, your skin needs to be cleaned regularly to remain healthy.
The same applies to a coating, from time to time we need to clean the “pores” of the coating to ensure it remains healthy and performing at its best. The use of specific soaps and decontamination chemicals helps remove contamination so that your coating functions as it should. How often this is done again comes down to vehicle usage and storage.
Does a ceramic coating prevent scratches?
Yes and no. While a ceramic coating provides an ultra-tough sacrificial layer to your paint, it’s not impervious to scratches. However, the ability to resist or reject contaminants means future cleaning will be safer, easier and therefore less prone to scratching.
Can I use the same coating on glass, trim and wheels?
While you can use the same coating applied to your paint across glass, trim and wheels, the longevity may be reduced. For best results, we recommend a dedicated glass or wheel or trim coatings that have been specifically designed for those surfaces.
When do I reapply a ceramic coating?
This all depends on the coating you chose and how the car is used and stored. A garage queen could exceed the manufacturer's stated durability by several years. A car driven in all conditions and parked outdoors may fall short of those claims. If the coating is not shedding water as efficiently, or is not resisting contamination like before, it may be time to reapply. You would then follow the same procedure outlined above.
The Secret To a Showroom-New Finish
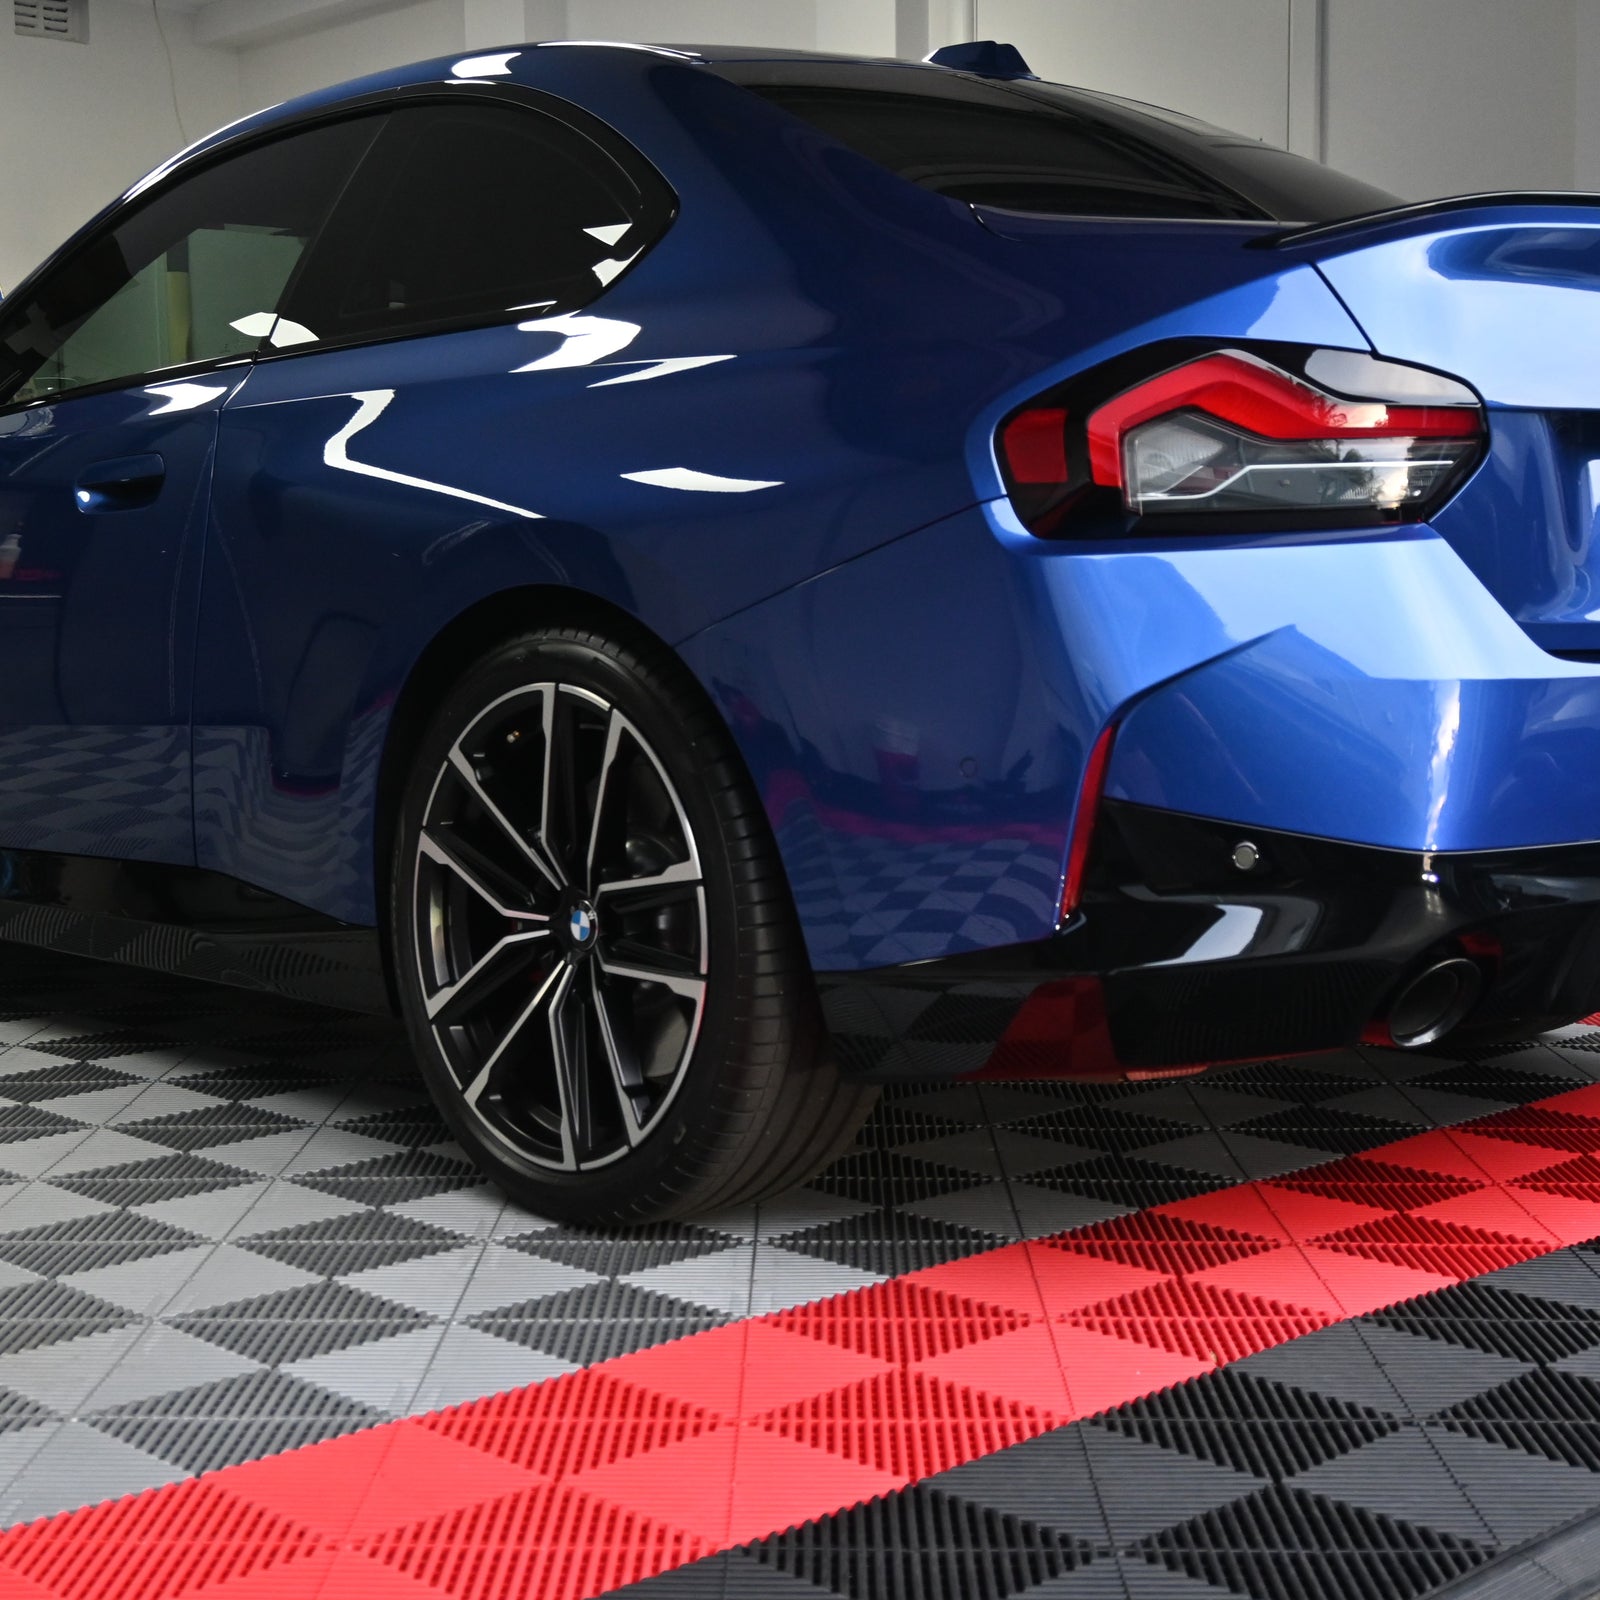
With the job completed, the first thing you will notice is the glass-like glossy finish, followed by the exceptional water beading and sheeting. You will also marvel at how easy the car is to clean going forward. Well maintained, your car will be protected from the elements for years to come.
Good luck and happy detailing!