


How to Polish a Car
Your First Time, Done Right
First-time polishing isn't about producing a flawless show finish. It's about safely improving your paint, building confidence with the machine, and not destroying your clearcoat in the process. Here's how to do exactly that.

Polishing terrifies first-time DIYers because every YouTube comment section is full of strike-through horror stories and arguments about whether your hand position is wrong. The reality: with the right machine, the right pad-and-product combination, and a moderate technique, polishing is far more forgiving than the internet suggests.
This guide is written specifically for your first time — it assumes you've never used a polisher, you've bought a dual-action machine (the right choice see our DA vs Rotary guide), and your goal is to safely improve your paint, not win a detailing competition.
For a more general overview, see our existing how to polish a car guide. This article focuses specifically on first-time technique, common beginner mistakes, and how to avoid them.
Set Realistic Expectations First
What polishing actually doesPolishing removes a microscopic layer of clearcoat — typically 1-3 microns per pass with a finishing polish, more with cutting compounds. By removing the top layer, you also remove the defects that sit within it: swirl marks, light scratches, water spot etching, oxidation. What polishing cannot do is remove deep scratches that have penetrated the clearcoat down to the colour layer. If you can catch a fingernail in the scratch, polishing won't save it.
Your first polishing session won't be perfect. You'll miss spots, leave faint marring, work areas inconsistently, and possibly induce hologram patterns from over-polishing. This is fine. Modern clearcoats are thick enough to absorb your learning curve. Subsequent attempts get dramatically better as you develop feel for the machine.
The Right Setup for Your First Time
Don't try to skip the easy modeThe single biggest factor in first-time success isn't your hand technique — it's the combination of pad and compound you start with. Aggressive cutting compounds with cutting pads will fix swirls fast, but they'll also reveal every tiny inconsistency in your technique. Light finishing polishes with finishing pads are the opposite — slower to remove defects, but almost impossible to mess up.
Start with a finishing pad and a finishing polish. See if it removes your swirls. If yes, you're done. If not, step up to a polishing pad and polishing compound. Only step up to cutting if those gentler combinations have been exhausted. This is the opposite of how most YouTube videos teach it. Most YouTube videos show heavy correction because heavy correction makes for dramatic before-and-after content. Real first-time work should start at the gentlest possible setting.
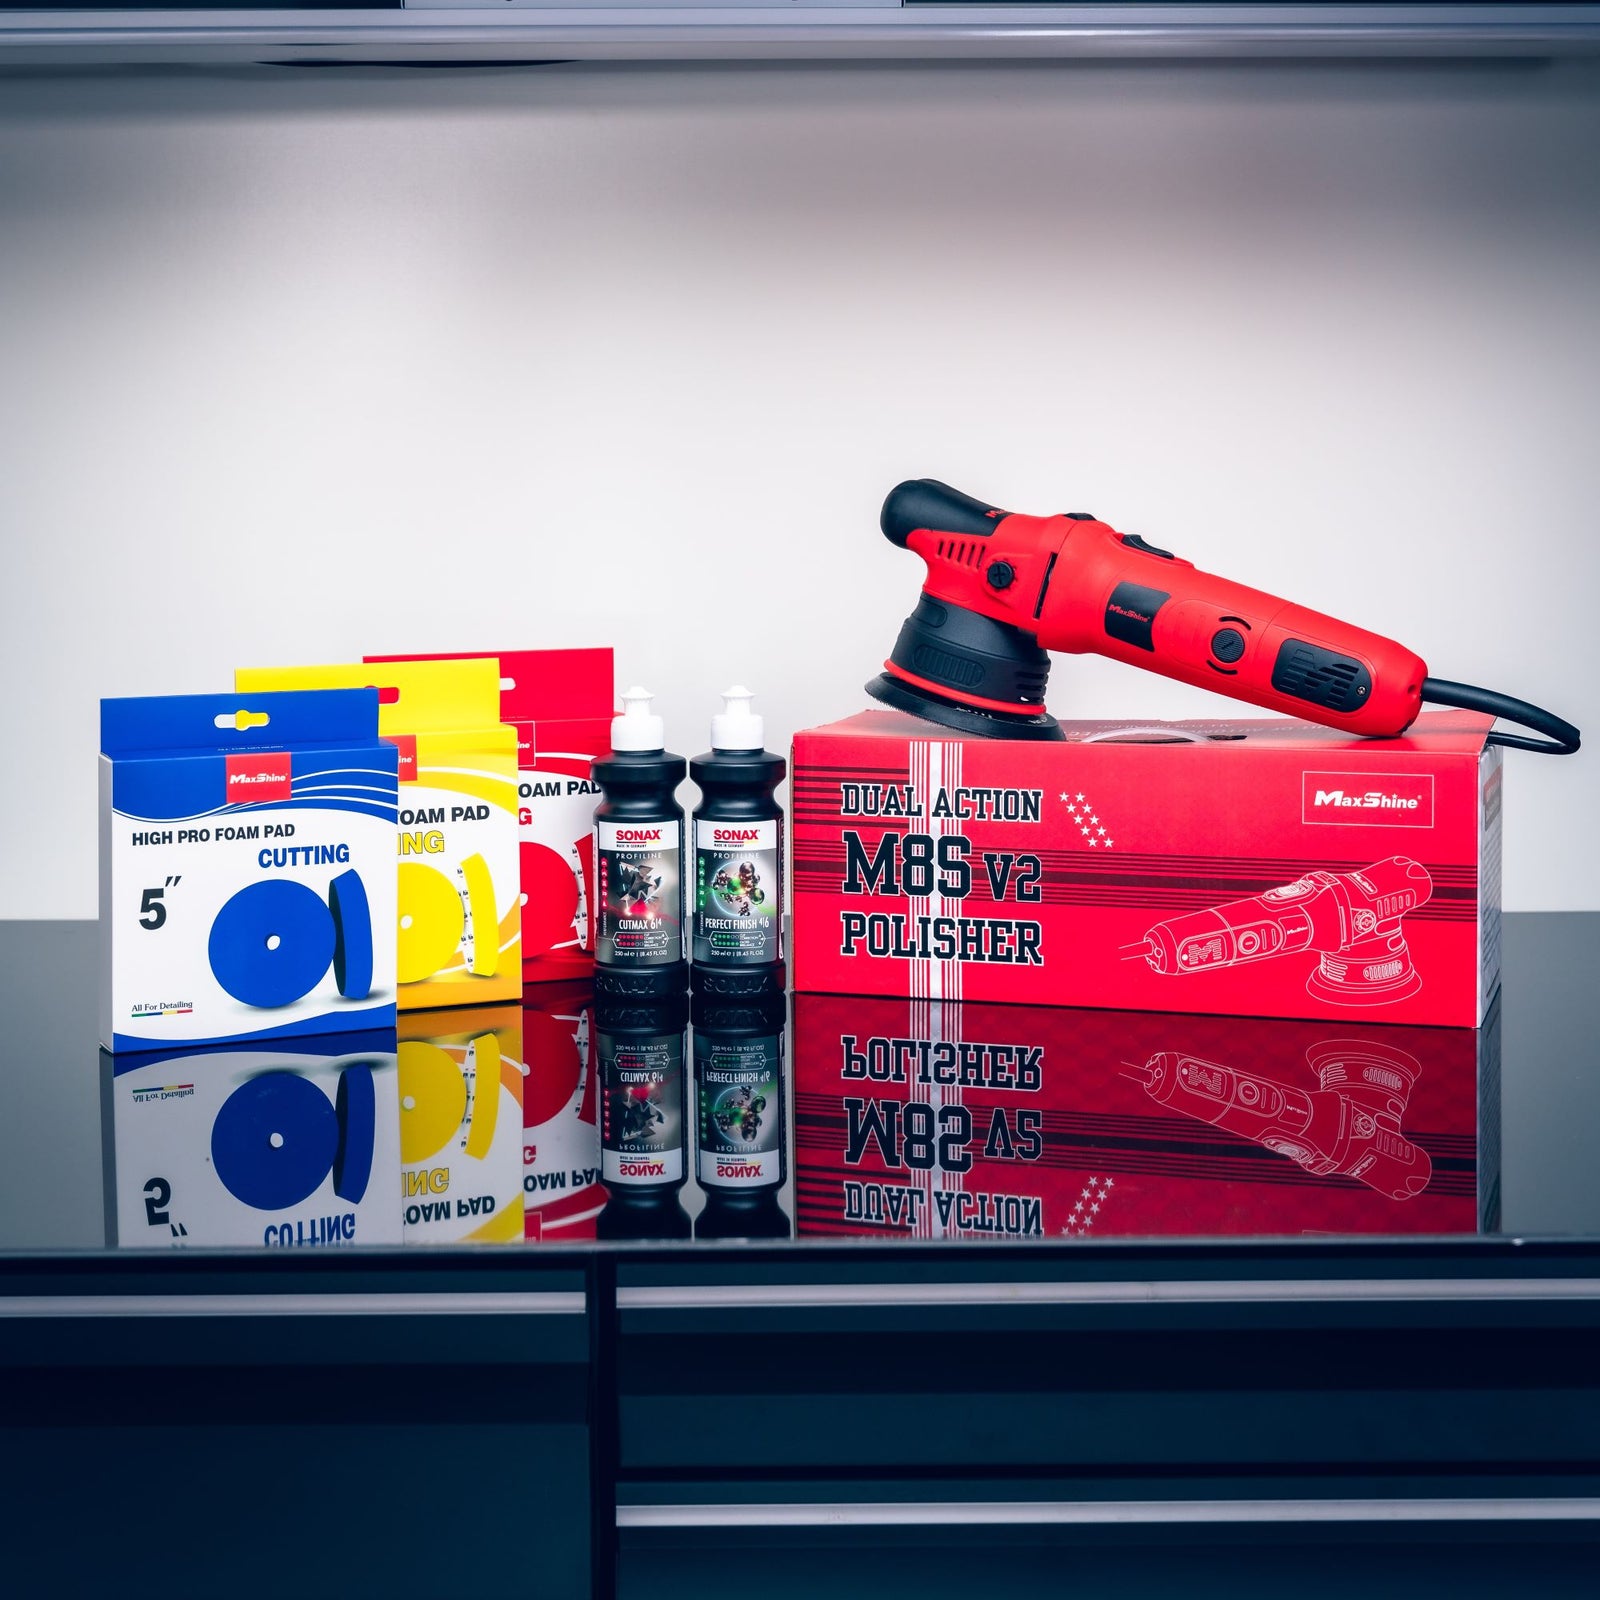
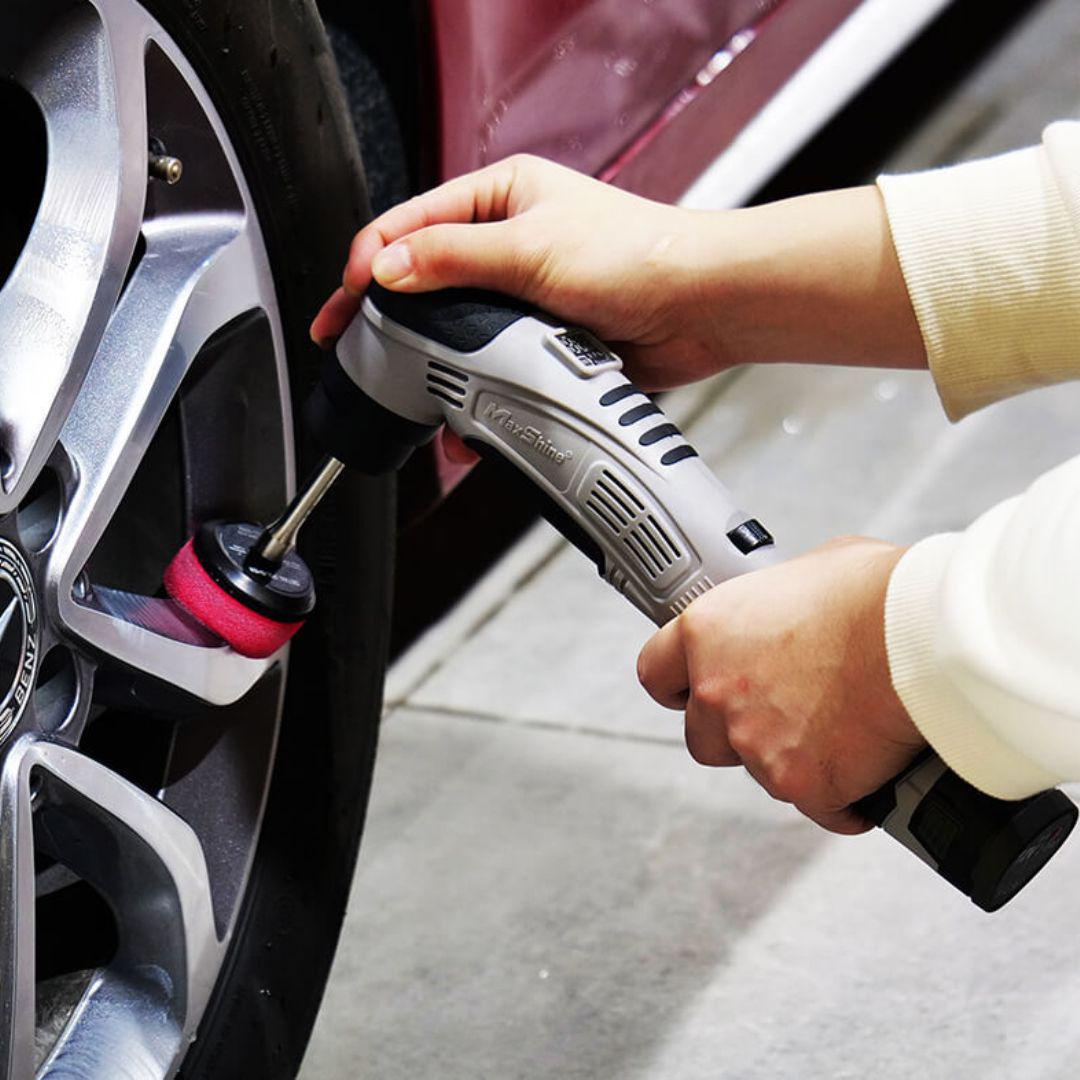
Machine: A 5-inch DA polisher with 8-15mm orbit. The Maxshine M8S V2 (8mm) is the standard beginner pick; the Maxshine M15 Pro v2 (15mm) is the right step-up if you know you have heavier correction work to do.
Pad: A soft finishing pad — typically black foam. The most forgiving option for first-time work. If you'd rather buy a complete set so you have cutting and polishing pads on hand if you need to step up, the Buff and Shine Uro-Tec Pad Kit covers all three grades in one purchase.
Compound: A finishing polish like SONAX Perfect Finish or Labocosmetica Fiero. Both are very forgiving, both finish to high gloss.
Towels: At least five edgeless microfibres for compound removal. You'll burn through them faster than expected.
Lighting: An inspection light. Defects you can't see won't get fixed, and defects you create won't get caught.

Pre-Polishing Prep
The work before the polishingThe car needs to be perfectly clean before you put a pad to it. Any contamination on the surface will be ground into the paint by the polisher, creating new scratches faster than you can remove old ones.
1. Wash thoroughly with a decontamination shampoo. Two-bucket method, fresh mitt.
2. Iron remover on the full car. The reaction colour confirms iron particles are present.
3. Clay mitt or clay bar with lubricant. Paint should feel completely smooth — like glass — when done.
4. Dry the car completely. Pay particular attention to panel gaps, mirror seams, and door edges where water hides.
5. Mask off trim with masking tape. Pads catching trim is the most common beginner mistake — it strips the trim's coating and dirties the pad.
6. Move the car indoors if possible. Direct sunlight heats panels too much for safe polishing and makes compound dry too fast.
The Polishing Technique — Step by Step
What to actually do with the machineAlways start on an unobtrusive panel — typically a lower door or rear quarter — before working on visible areas. The first panel is your test. If your pad-and-compound combination works there, repeat across the rest of the car. If it doesn't, you can step up to more aggressive products without having ruined the bonnet.
Before the first use, lightly mist the pad with a clay lubricant or detail spray and rub the polish in with your finger. This stops the dry pad from grabbing the paint on contact. For subsequent panels, the pad stays primed from previous use.
Five small drops of polish on the pad — roughly the size of split peas, evenly spaced. More than this is wasted; less than this is insufficient lubrication and risks dry-buffing.
Place the pad on the panel before turning on the machine. Run the machine at speed 1 (lowest) and spread the compound across a 2-foot-by-2-foot section. This prevents flinging compound everywhere when you start the machine.
Increase to working speed (typically 4-5 on most DAs). Move the machine in slow, overlapping passes — about an inch per second. Cover the section twice horizontally, then twice vertically (cross-hatch pattern). Each section should take about 60-90 seconds total.
Keep the pad flat on the panel — not tilted on edge. Apply moderate pressure — enough that the pad rotation slows slightly, but not enough to stop it. If the pad stops rotating, you're pressing too hard.
Most polishes start opaque/white and turn clear or translucent as they break down. When the polish has gone mostly clear, the abrasives have done their work and the compound is no longer cutting. Stop. Continuing past this point doesn't add benefit and risks heat buildup.
Turn the machine off. Wipe the section with a clean, soft microfibre — folded into quarters, switching to a fresh face as it loads up with residue. Two passes: first to remove the bulk of the residue, second to leave a clean polished surface.
Before moving to the next section, inspect under your inspection light at a low angle. Did the swirl marks reduce? Are there any new marring patterns from the polishing? Are there missed spots? Address before moving on.
Work in a logical order. Bonnet first (largest, easiest to access), then roof, then upper sides, then lower sides, then bumpers. Each panel should be polished as a single complete unit, not jumped between.
Common First-Time Mistakes
Catch them before they become habitsIf your pad rotation stops, you're pressing too hard. The pad needs to spin to work — without spin, you're just heating the paint with friction. Light to moderate pressure only.
Concentrating force on the edge of the pad cuts harder than the pad's centre — but unevenly. This is how holograms and pad burns happen. Keep the pad flat, even when you're tempted to "press in" on a stubborn area.
Cars in direct sun, garages above 28°C, or hot panels from previous polishing all increase compound dry-out and clearcoat heat. Work cool, work indoors, and let panels rest if they feel hot to touch.
Going straight to the bonnet and discovering your combination doesn't work is the worst possible outcome. Always test on a hidden panel first — it costs ten minutes and saves hours.
Pads load up with old compound and removed paint. Working with a loaded pad scratches more than it polishes. Clean the pad mid-job using a pad brush or compressed air, and have a spare pad ready.
Body lines, ridges, and edges have the thinnest clearcoat on the car — and the polisher's pad concentrates more force on them than on flat surfaces. Mask these areas or work them by hand. Most strike-through damage happens on edges.
If a panel feels hot to touch. Take a break, move to another panel, come back when cool.
If you see paint colour on your pad. This is clearcoat strike-through or basecoat damage. Stop immediately. The damage is done — continuing makes it worse.
If you're tired or rushing. Tired hands make mistakes. Polishing is a multi-hour job — break it across two days if you need to.
What to Do After Polishing
The work isn't done when the polishing is donePolished paint is highly reactive. The polishing process exposes fresh clearcoat surface and leaves residual oils and silicones from the polish. Without immediate protection, that fresh surface attracts contamination quickly and the gloss you just produced fades within weeks.
1. Panel prep wipe — strip the polish oils with a panel prep solution. Use the panel prep from the same manufacturer as your coating where possible — manufacturers formulate their preps to work with their specific coating chemistry, and mixing brands can leave residues that affect bond. Apply, wipe, then a second pass to ensure all residues are removed.
2. Apply protection within 24 hours — a ceramic coating, sealant, or wax. Don't leave polished paint unprotected. See our ceramic coating guide if you're considering coating after polishing.
3. Avoid washing for 7 days if you've coated. Allow the coating to fully cure before water exposure.
How long should my first polishing session take?
Plan for a full day. Prep alone takes 3-4 hours including thorough wash, decon, and clay. The polishing itself takes 4-8 hours for a beginner on a mid-sized vehicle. Add buffer time for breaks, problem-solving, and protection application after. Don't try to rush this — the time pressure is what causes mistakes.
Should I do a cutting step or just finishing polish?
Start with finishing polish only. If your test panel shows you that finishing polish removes the swirls, you don't need a cutting step at all — and you preserve more clearcoat for future polishing. Only step up to cutting if finishing genuinely can't address what you're seeing. This is the opposite of what most YouTube videos suggest, but it's the safer path for first-timers.
What if I see new scratches after polishing?
New scratches almost always indicate one of three things: contamination on the pad (clean it or swap), compound spent and dry-buffing (apply more), or a foreign object stuck in the pad surface (inspect and remove). New scratches are corrected with another polishing pass with fresh pad and fresh compound, not with more aggressive products.
Do I need a paint thickness gauge?
For a first-time finishing polish on a modern vehicle, no — finishing polish removes minimal clearcoat and the risk is low. For repeated polishing, heavy correction work, or older vehicles where clearcoat health is unknown, a paint thickness gauge becomes very useful — either a Defelsko PosiTest or a NexPTG works well. Most owners add one to their kit by their second or third correction job.
Can I polish my car without a machine?
You can hand-polish paint, but it produces marginal results compared to machine polishing — particularly on hard modern clearcoats. Hand polish is best for spot work or for products specifically designed for hand application like one-step glazes. For genuine swirl removal and gloss enhancement, a dual-action polisher is the right tool.
How often should I polish my car?
Less than you'd think. A full machine polish removes clearcoat — clearcoat that doesn't grow back. For a daily driver in good condition, polishing every 2-3 years is plenty. Cars under ceramic coating can often go even longer because the coating absorbs the wear that would otherwise require correction. Polish only when there's a genuine reason to — defects you can see, or paint prep before recoating.