How To Protect A Brand New Mustang with Armour Detail Supply
Adding protection to a brand-new car is a vital step in the ownership journey. Not only do you protect and enhance the look of your new car, but it also helps with future cleaning and protects the resale value further down the track. So, lets guide you through the process using a brand-new 2024 Mustang GT for illustration.
Coating Preparation -
Step 1 – On any new car, its important to clean and properly decontaminate the vehicle prior to the application of a coating. The decon process uses specific soaps, iron removers and clay treatments to remove any unwanted nasties that the car will have picked up during transit.
A more thorough decon process can be found here.


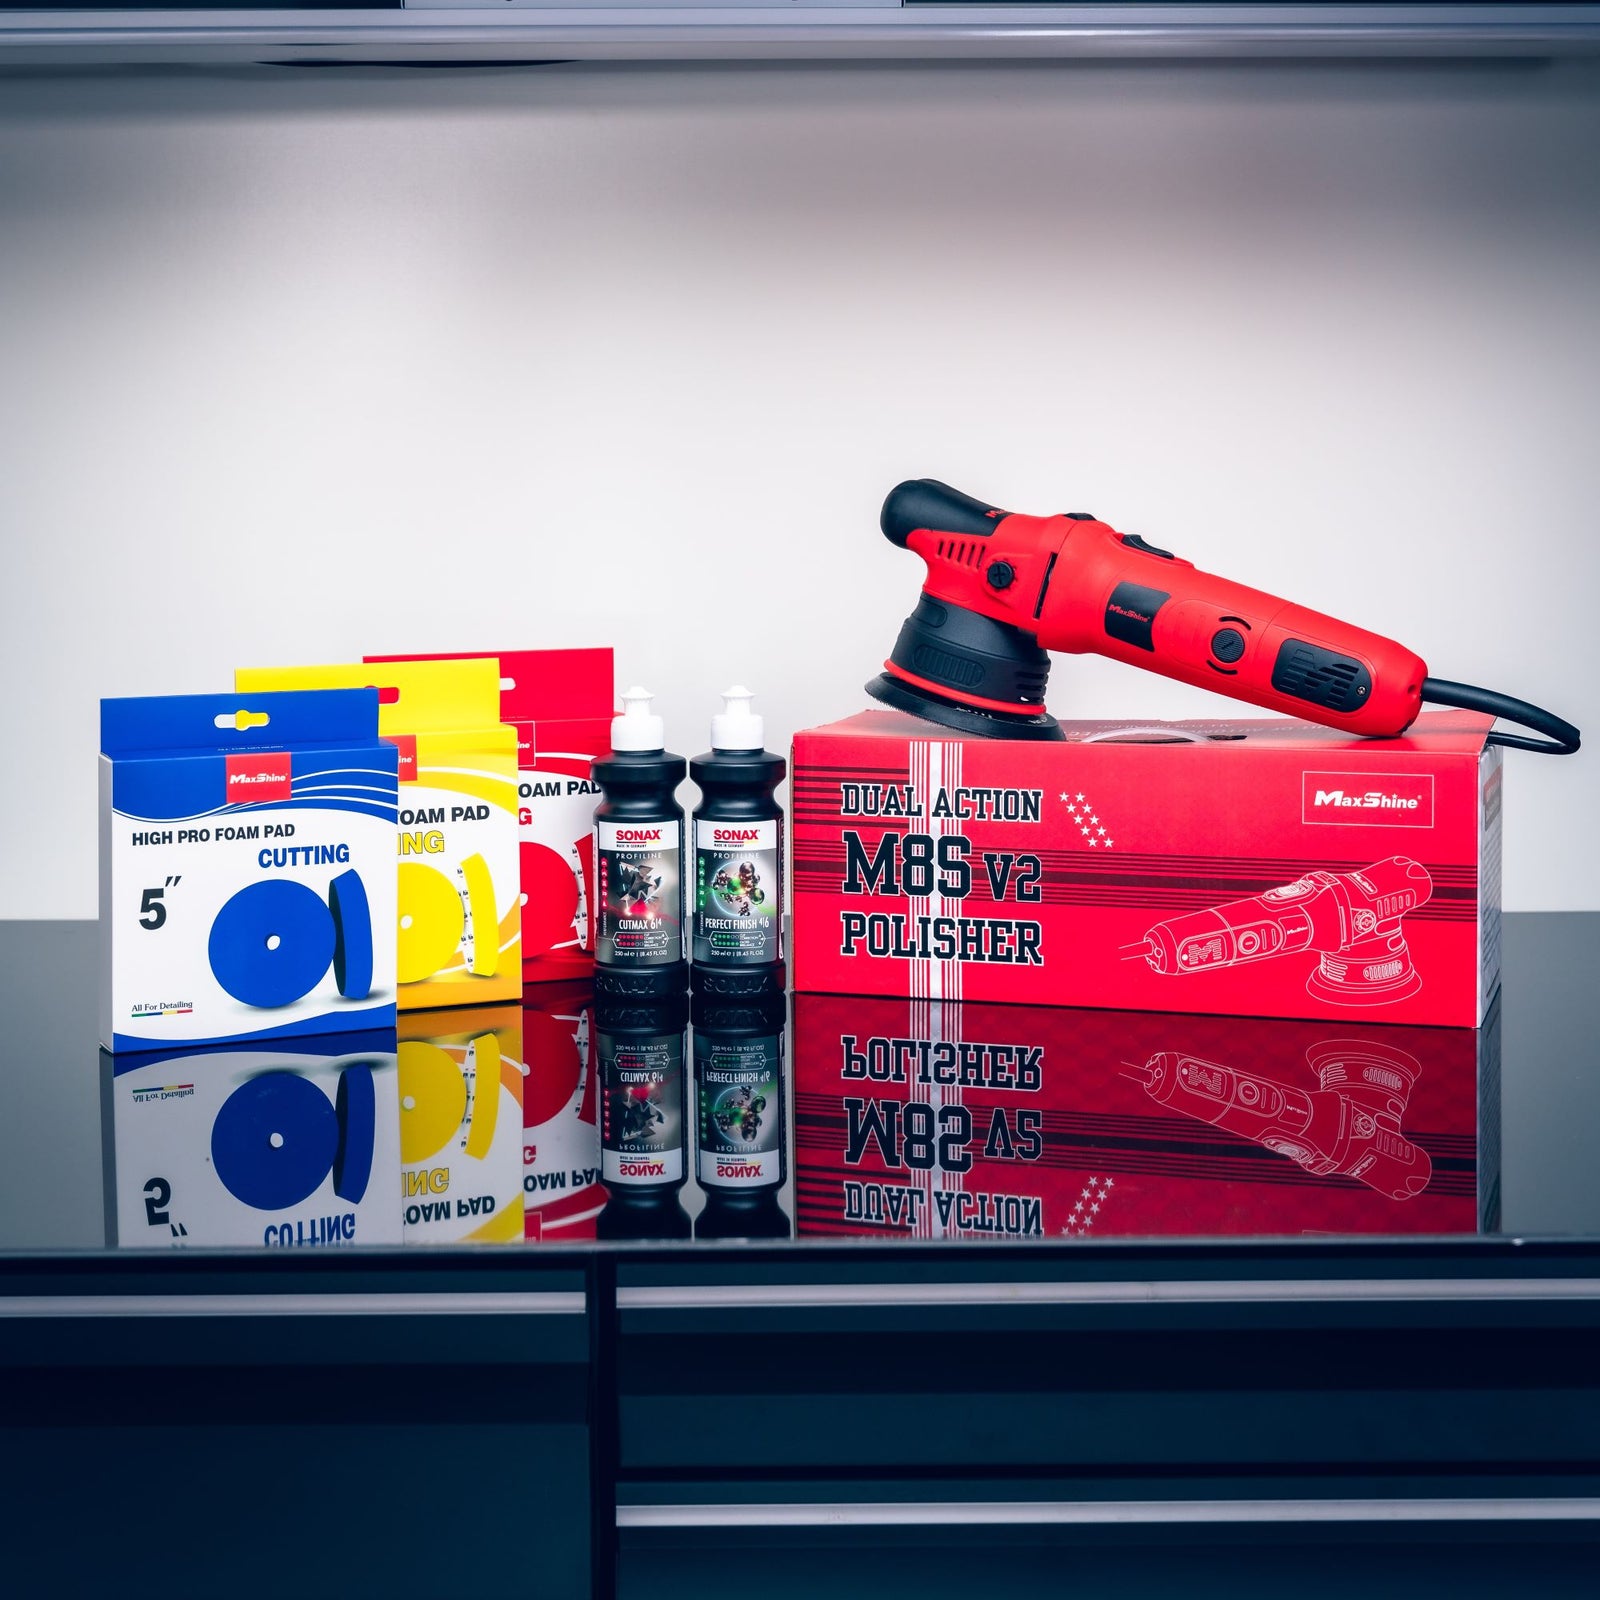
Step 2 – Contrary to what many will think, a brand-new car will often require some form of polishing. After the decon step, we recommend inspecting the paint with an inspection light and performing test spots to determine what level of polishing will be required. Once a pad and polishing compound has been selected, tape up any unpainted rubber or plastic trims to protect those surfaces during polishing. On a Mustang, this would include the side window rubbers, the rear diffuser, side skirts, badges, headlights and front grill surrounds. You may also cover the wheels to protect from polishing dust or splatter.


Step 3 - Working sections, polish the vehicle to deliver the desired finish, inspecting sections for correction as you go.
A more thorough guide to polishing can be found here.

Step 4 - After polishing, remove the taping and thoroughly wipe the vehicle down with a prep spray to remove polishing oils and ensure proper bonding of the coating.

Ceramic Coating -
Fully decontaminated and polished, its time to apply the ceramic coating to the paintwork and trim.
Step 1 – Working in sections, apply Armour Detail Supply Quartz to the vehicle. Prime the supplied applicator with a generous amount of coating, only smaller amounts will be required from then on. Apply the coating in overlapping strokes to ensure even coverage. We also recommend changing applicator sides halfway through. After the coating has started to sweat, remove the reside with a towel, then buff with a second towel to a streak free finish. Make sure to inspect each section as you finish to ensure no high spots were left.
More detail on coatings can be found here.


Step 2– After 3 hours, you can apply Armour Detail Supply Amplify to protect the coating within the first 12-hours as the coatings initial curing.
Note - Allow the coating to sit for at least 12 hours for the initial cure. After 12 hours, you can drive the vehicle and get it wet. It’s recommended not to wash or apply strong cleaning chemicals for at least 7 days.

Wheels –
With the paint protected, it’s time to turn attention to the wheels and brake callipers.
Note – It’s best to remove the wheels to gain full access to the wheel barrel and brake callipers.
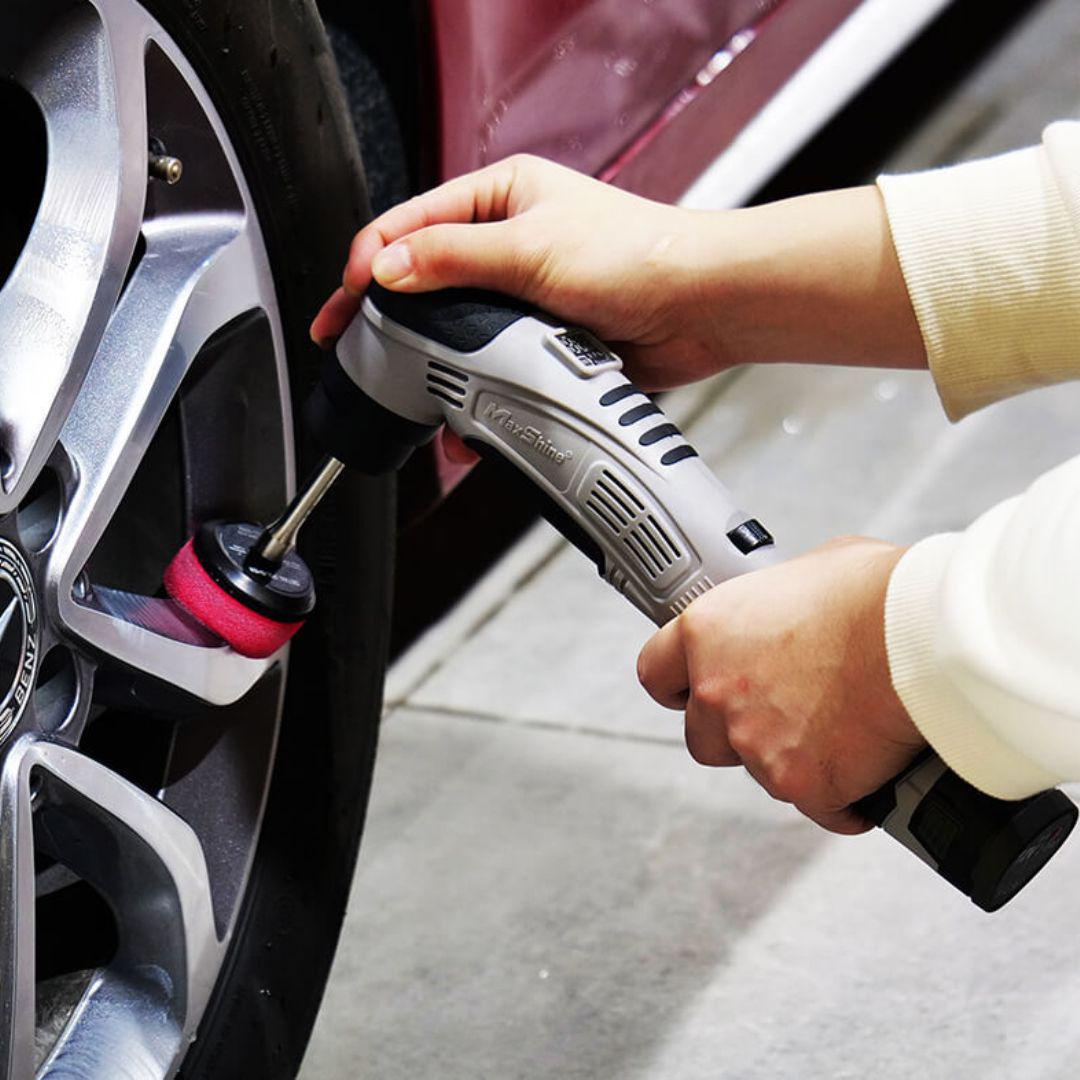
Step 1 – Again, ensure the callipers and wheels are clean and decontaminated using a wheel cleaner and/or an iron remover. Once the wheels and callipers are dried, wipe down with prep spray.


Step 2 – Using a similar method described above, apply Armour Detail Supply Wheel Coating to the wheels and brake callipers. A single coat is sufficient for gloss surfaces, but on these matte black wheels, its best to apply two layers, 1 – 2 hours apart. You can also use this coating on the exhaust tips.
A more detailed application process can be found here.


Step 3 – With the wheels refitted to the vehicle, apply your favourite tyre dressing.

Glass –
Applying a glass coating or sealant is next, something that will ensure easy cleaning and added safety in wet conditions.
Step 1 – With the glass cleaned in previous steps, we recommend following with a glass polish prior to the application of a coating to ensure best results. P&S Clarity Crème can be used by hand or machine and is extremely effective at delivering crystal clear glass.


Step 2 – After polishing, ensure the glass is cleaned with a prep spray.
Step 3 – Apply Armour Detail Supply Glass Coating. Working one section at a time, apply the coating, allow to haze for 30-60 seconds, then remove the excess residue with a towel, then buff to streak free with a second towel. It’s recommended to apply two layers to the front windshield, 1 hour between layers. For side glass, a single layer is sufficient.
Note - Allow the coating to cure for a minimum of 12 hours, afterwards, the vehicle can be driven and get wet. We also recommend not washing or using chemicals for 7 days.
The Final Result!
Corrected and protected, your brand-new car is ready for the road. This is also the moment where you can stand back and admire your hard work, a job well done!


