


How to Apply Ceramic Coating on Brand New Subaru Forester
Ceramic coating a new vehicle like the Subaru Forester is one of the best ways to protect the paint from contaminants, UV rays, and road grime. Even a new car benefits from proper surface preparation to ensure the coating bonds correctly and performs at its best.
In this guide, we'll walk you through a complete step-by-step process using professional-grade products to apply Armour Detail Supply Ceramic Coating PRO 5 Year on a new Subaru Forester. The same process can be used for other cars as well.
Key Products:
- Armour Detail Supply Ceramic Coating PRO 5 Year
- Labocosmetica Fiero Polish
- Armour Detail Supply Iron Remover
-
Buff and Shine Uro-Tec Black Foam Pad
- Armour Detail Supply Panel Prep
The Prep - The Most Important Step
Your coating is only as good as your prep. The product won’t hide defects or bond properly to a contaminated or oily surface. So take your time and do it right.
Step 1: Wash the Car Thoroughly
Starting with a clean car is essential.
-
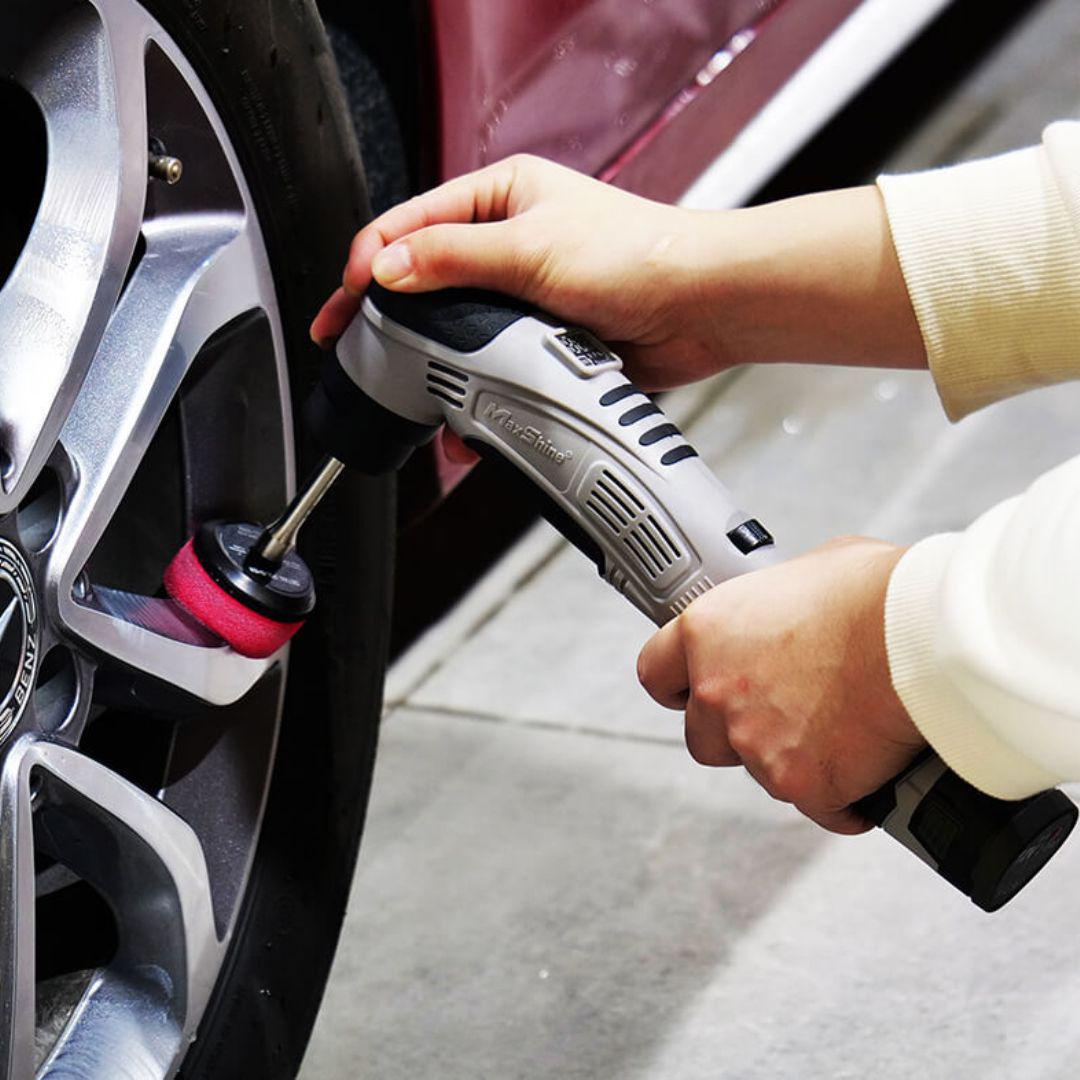
Start with Wheels & Tyres
- Spray Armour Detail Supply Wheel Cleaner on the rims.
- Follow up with Armour Detail Supply Tyre Cleaner on the rubber.
- Agitatewith Detail Factory Tire Brush, EZ Detail Wheel Brush (Large), Detail Factory Boar’s Hair Brush (24cm)
-
Body Wash
- Pre-wash the paint with Armour Detail Supply Decon Soap using a foam cannon. Let it dwell for a few minutes to break down grime, then rinse.
- For your contact wash, use Armour Detail Supply Shampoo+ with a Maxshine Micro Chenille Wash Mitt.
- Wash top to bottom using the two-bucket method.
- Rinse thoroughly, then dry using a soft, high-quality microfibre drying towel.
Step 2: Decontaminate the Surface
Even new cars can have embedded iron particles from transport or brake dust.
- Spray Armour Detail Supply Iron Remover over the entire body of paint.
- Let it sit and react (watch for that purple bleeding effect), then rinse thoroughly.

Step 3: Prepare the Vehicle
To maximise effectiveness and ease of application:
- Move the car into a shaded or undercover area - a garage or carport is perfect.
- Set up your lighting to clearly see the paintwork clearly and avoid missing any spots. We used Scangrip Light.
- Tape off sensitive trim, badges, and rubber seals with masking tape to avoid product transfer.

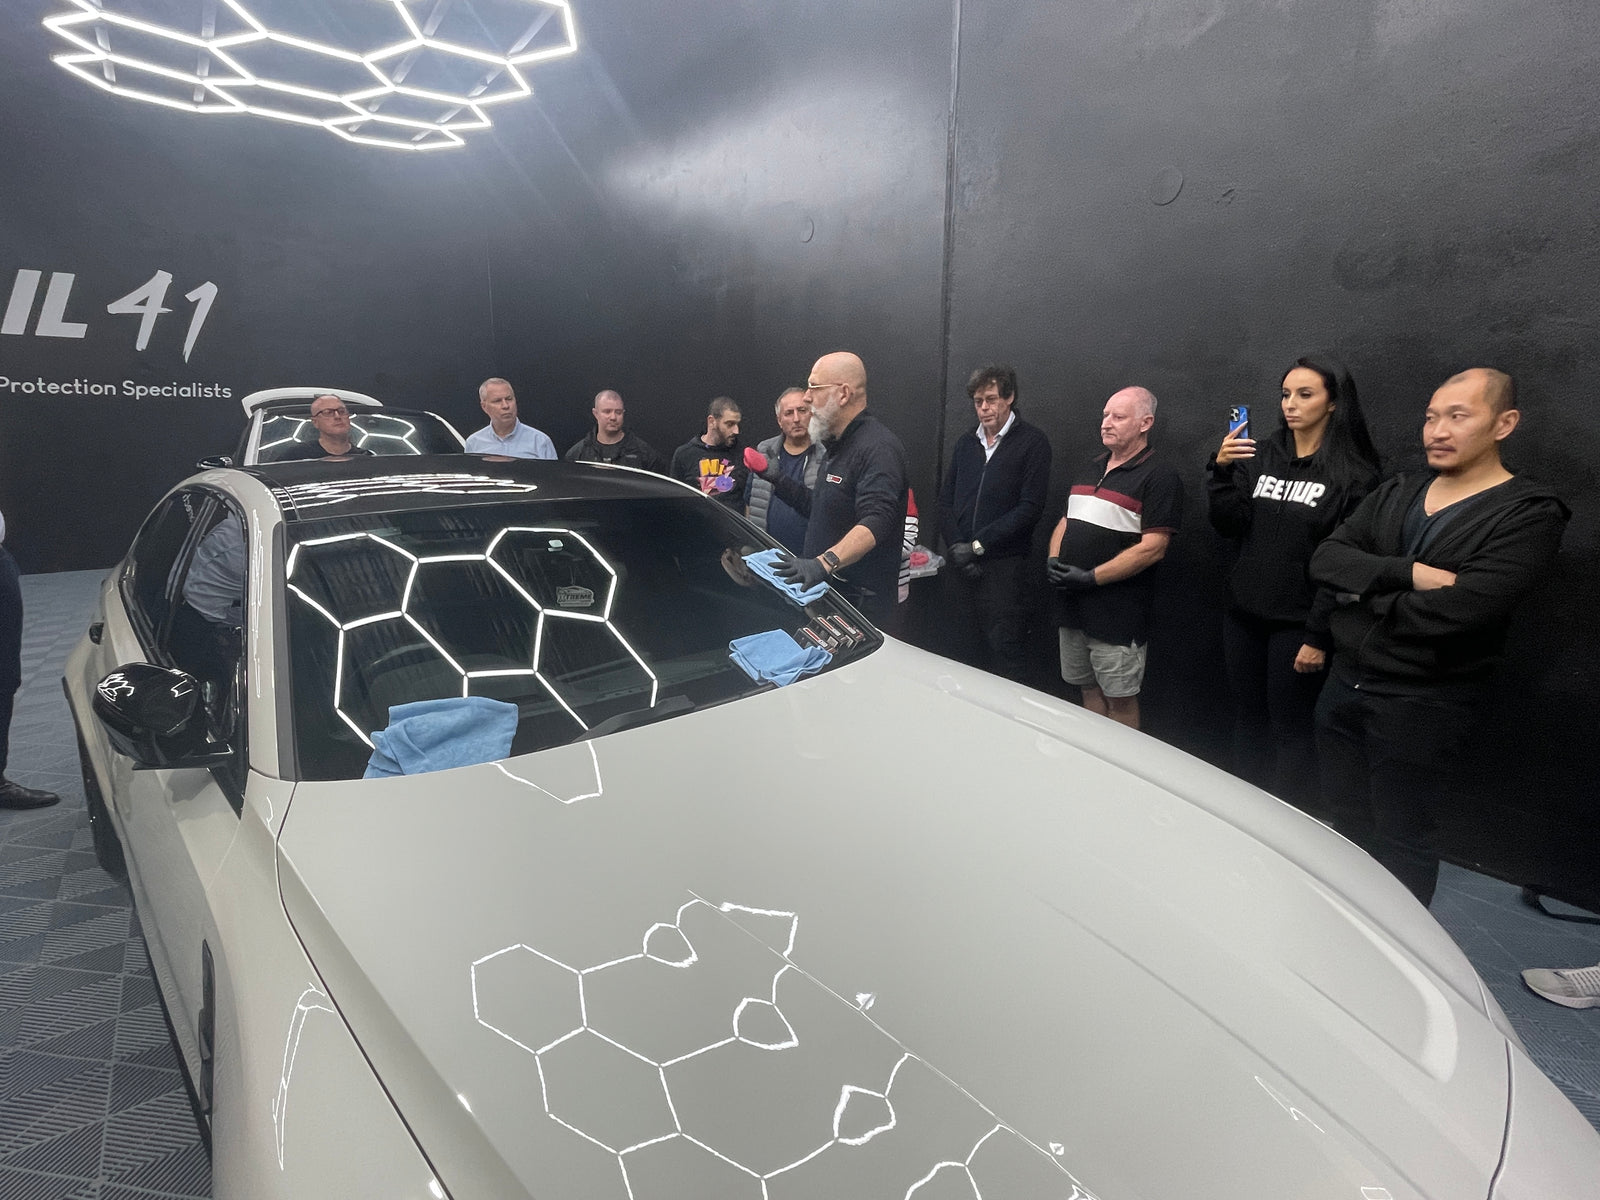
Step 4: Paint Correction
Although your Forester is new, light swirl marks or dealership handling scratches may still be present. New cars can benefit from a finishing polish to also bring out extra gloss.
- Polish the paint using Labocosmetica Fiero Polish and a Buff and Shine Uro-Tec Black Finishing Pad.
- Work panel by panel using a dual-action polisher, then wipe off polish residue with a clean microfiber towel. We used Maxshine M15 PRO 5 inch and Mirka Cordless Polisher AROP-B 312NV 3Inch.


Step 5: Panel Prep
This step ensures the surface is bare and clean for coating.
- If you polished with Fiero, you’re good to go - no extra prep required, since Fiero contains a primer for coatings.
- If you didn’t polish with Fiero and used another polish, apply Armour Detail Supply Panel Prep twice to ensure the surface is squeaky clean and oil-free.
Application – How to Coat a Brand New Car Like a Pro
Step 1: Prime the Applicator
- Before starting, shake the bottle and apply 3 full lines of coating to a fresh applicator block.
- For each panel after, you’ll only need a small top-up — a little goes a long way.
Step 2: Apply to 1–2 Panels at a Time
- Start with an "X" pattern, then outline the edges of the panel (“box it in”).
- Fill in the area using small, overlapping circular motions (like applying wax).
- Let the coating set for 1–5 minutes, depending on temperature and humidity (2–3 mins is typical).
- Look for small, uniform sweat beads before wiping off.
Step 3: Level & Buff
- First wipe: Use a short nap or pearl weave microfibre towel. Wipe gently in circular motions to level 95% of the coating. You’ll feel slight grab - that’s normal.
- If it smears easily, it needs more time to set.
- If it's hard to wipe off, it was left too long - reduce flash time.
- Second wipe: Use a plush microfibre to do the final buff and inspect for high spots or streaks (look for cloudy or uneven patches under light).
- Flip to a clean side of your towel every second panel, and flip or swap your applicator block once it starts to stiffen.
Optional: Second Coat
While Armour Quartz Coating is designed for single-layer protection, it can be layered. Just wait 1–2 hours between coats.
Aftercare – Let It Cure
Let the coating cure for at least 12 hours before exposing it to water.
After 4 hours, you can apply Armour Detail Supply AMPLIFY or Ceramic Spray Sealant to help protect during the curing phase.
Avoid washing or using any chemicals for 7 days to allow full curing.
Full Product List:
- Armour Detail Supply Wheel Cleaner
- Armour Detail Supply Tyre Cleaner
- Detail Factory Tire Brush
- Ez Detail Wheel Brush Large
- Detail Factory Boar's Hair Brush 24cm
- Armour Detail Supply Decon Soap
- Armour Detail Supply Shampoo+
- Maxshine Micro Chenille Wash Mitt
- Armour Detail Supply Iron Remover
- Labocosmetica Fiero Polish
- Buff and Shine Uro-Tec Black Foam Pad
- Armour Detail Supply Panel Prep
- Armour Detail Supply Ceramic Coating PRO 5 Year